Regions and Lines
The preview canvas is where you define the exact area EyesOnIt should evaluate and, for video, any boundary lines that support line-cross alerting.
The screenshot below shows the preview canvas with the polygon toolbar and a selected region.
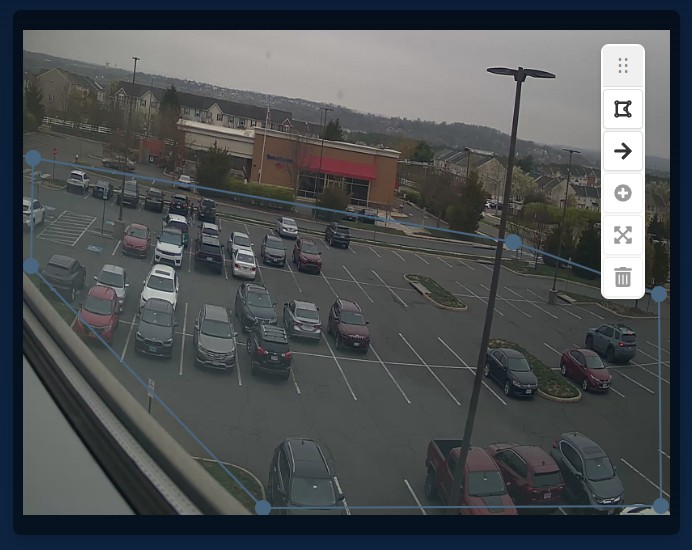
Working with regions
When a preview frame is available, EyesOnIt creates one default region. From there you can:
- drag the region to a better location
- drag vertices to reshape it
- select an edge and add a new vertex
- expand a selected polygon to fill the frame
- delete a region, as long as at least one region remains
The toolbar supports Add Polygon, Add Vertex, Expand, and Delete. The Delete key also removes the selected vertex or shape when deletion is allowed.
General region settings
Each region has a General page with:
NameEnabled
Use Enabled when you want to keep the region geometry and settings but temporarily stop detection in that region.
Adding and using lines
Video Monitoring also supports boundary lines. Add a line with the line button in the preview toolbar, then configure it from its own sidebar entry.
The screenshot below shows a named line with direction arrows on the canvas.
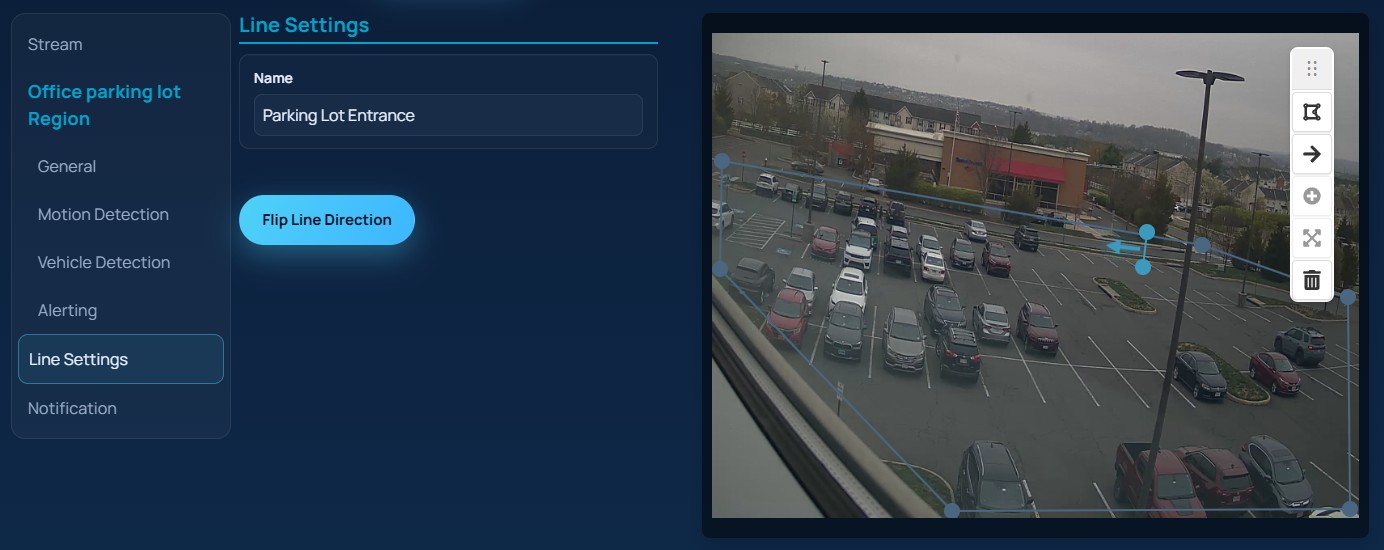
For each line, the UI lets you:
- set a
Name Flip Line Direction- add vertices to create a multi-segment line
The line arrows matter because line-cross alert conditions can be limited to crossings in the same direction as the arrow or in the opposite direction.