Video Processing
The Video Configuration web page is your primary user interface to configure the processing of video streams. Through this page, you can configure the following:
- What video streams you want EyesOnIt to monitor
- What objects you want EyesOnIt to look for in each stream
- What alerting conditions you want EyesOnIt to use
- Advanced settings like motion detection and frame rate to optimize scalability
Opening the Video Configuration Demo
To open the Video Configuration page, you first need to run EyesOnIt. Your Docker command should start like this:
docker run -d -p 8000:8000 ...
This docker command opens port 8000 as a web server to support the EyesOnIt Web User Interface and the EyesOnIt REST API. If you started EyesOnIt on your local computer using port 8000, click below to open the link in your browser:
http://localhost:8000/dashboard
If you started EyesOnIt on a different computer that is accessible from your current computer, you'll need to replace localhost with the IP address or hostname of the computer where EyesOnIt is running. Please be aware of firewall issues. Port 8000 (or whatever port you specified in your Docker run command) will need to be open for inbound requests on the computer where EyesOnIt is running.
The EyesOnIt Web UI Home Page
When you successfully reach the EyesOnIt home page, you will see this:
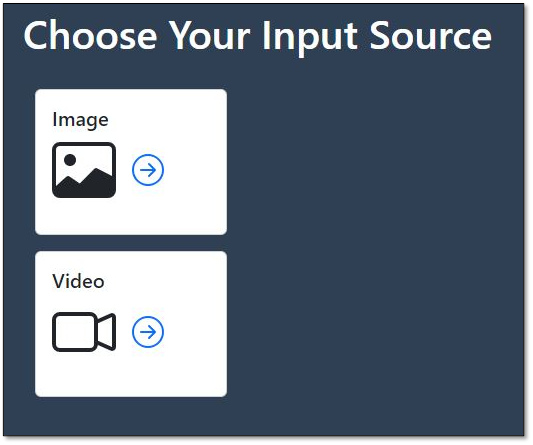
The EyesOnIt Video Processing Page
After you click the Video button, you'll see the Video Processing page.
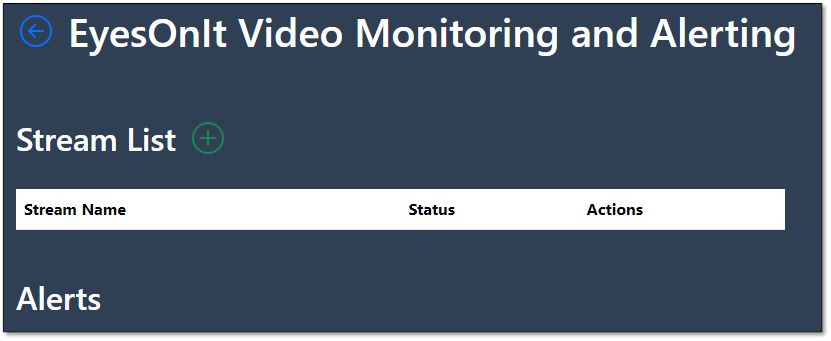
The EyesOnIt Video Processing Stream List
This page lists all of the video streams that are currently added to EyesOnIt. When no video streams have been added, the screen will appear as above. To add a stream, click the green + icon next to Stream List.
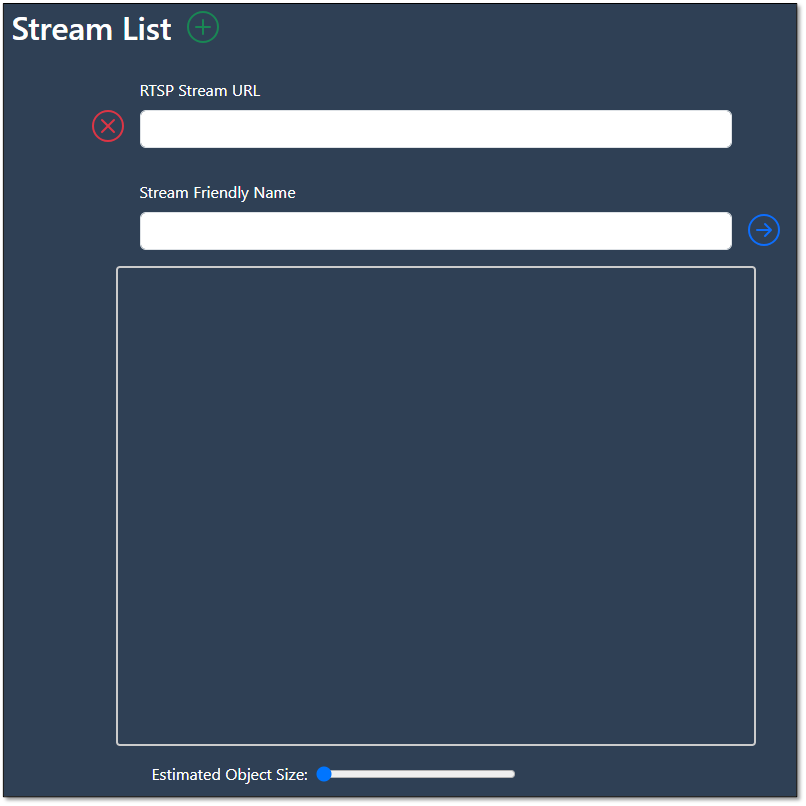
Adding a Stream
The first step to add a stream is to provide the stream URL and to give the stream a friendly name. After entering those values, click the blue arrow. EyesOnIt will then connect to your stream and display a preview frame. This preview frame will help you configure some of the other settings.
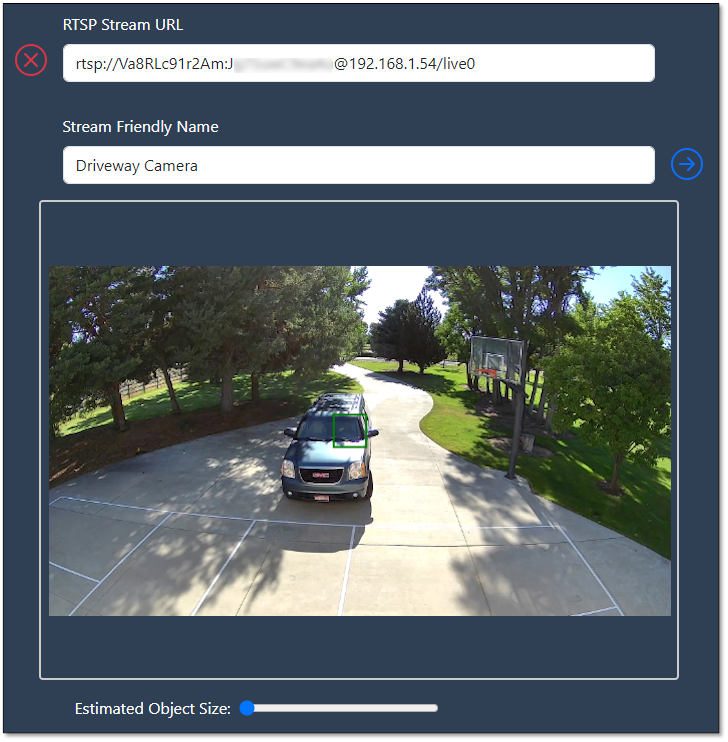
Configurating Video Stream Processing
Once EyesOnIt has connected to your stream, you can enter the inputs for object detection and alerting. The blank inputs page looks like this:
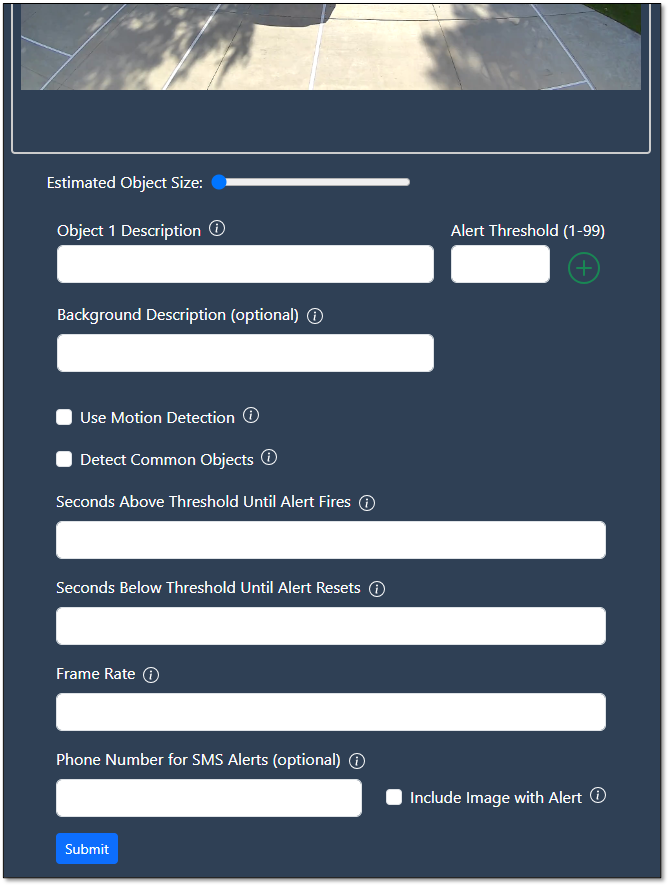
For information about filling out these inputs, please refer to the Key Concepts section of the user guide.
Once you have entered all of the inputs for your stream, your inputs section should look something like this:
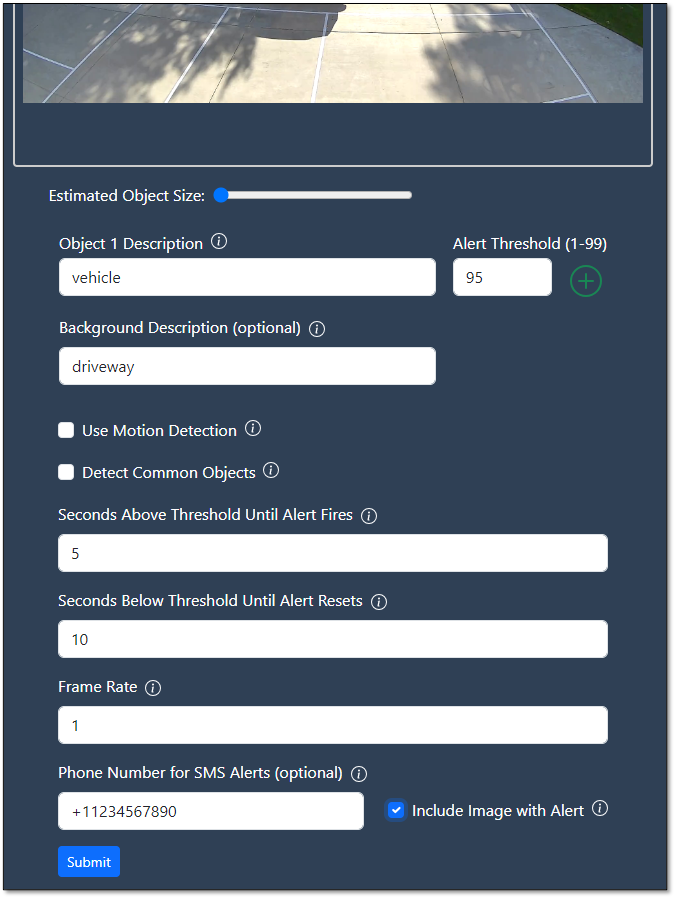
To finish adding the stream, click Submit. The Web UI will show errors if any of the inputs need to be corrected.
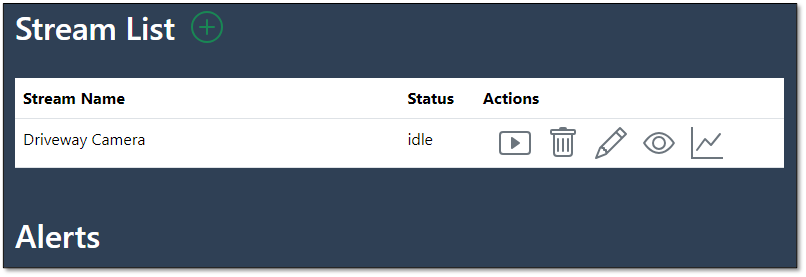
After submitting the inputs for a new stream, the stream will be added to the stream list as shown below.
Video Stream Management
For each stream in the stream list, you will see the stream name, the stream status and icons for each action that you can perform with the stream.
The Status values that you will see are:
- idle - the stream has been added to EyesOnIt, but the stream is not currently being monitored. No alerts will be sent for an idle stream.
- monitoring - the stream has been added to EyesOnIt and is being monitored. EyesOnIt will send alerts when the alert conditions are met.
- alerting - the alert conditions have been met. The stream will remain in the alerting state until the reset conditions are met.
The Action icons allow you perform the following actions:
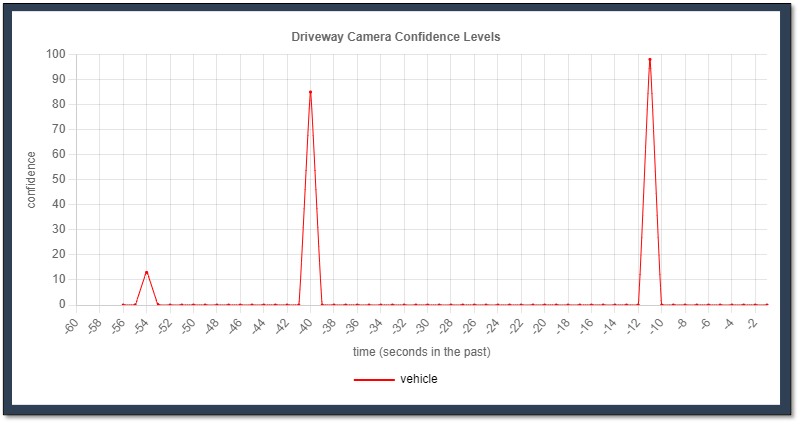
When you click the chart button, you'll see a graph of the last 60 seconds of the confidence levels for your stream. The chart will look something like this:
For more information about configuring video streams, refer to our blog posts, or contact us at support@eyesonit.us if you have specific questions.