
THE EYESONIT GUIDE
EyesOnIt documentation
Turn camera activity into useful information. Learn how to configure detections, create meaningful alerts, and review what happened.
For the people who configure, monitor, and investigate.
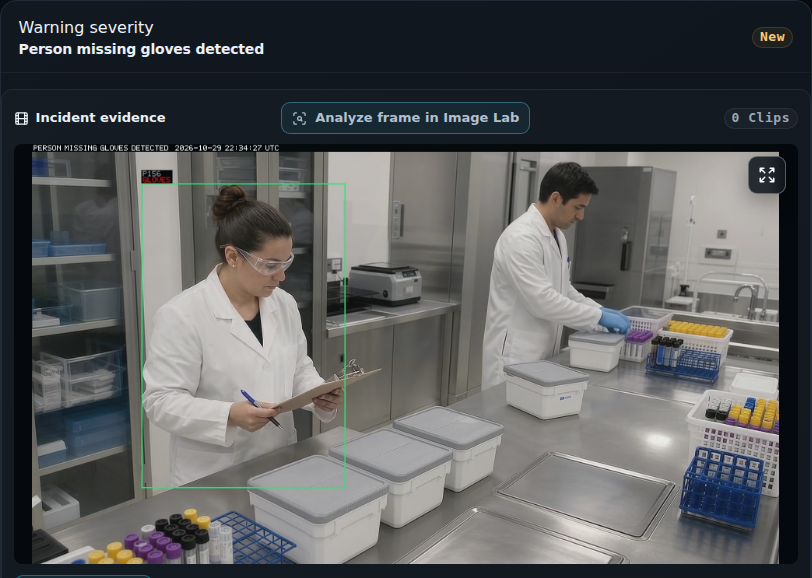
Build your first monitoring workflow, or follow the complete PPE example below.
PPE detection and incidents
Choose the equipment to assess, define a wearing or missing condition, and create an incident your team can review.
Watch the workflow
Section titled “Watch the workflow”See how a camera view becomes a detection, an incident, and a reviewed outcome.
Install and set up EyesOnIt
Section titled “Install and set up EyesOnIt”Prepare the server, run guided installation, and get your first camera workflow ready.
Prepare your server
Choose the installation type and gather GPU, network, HTTPS, and license details.
Plan installationInstall EyesOnIt
Run the native Linux installer and create your administrator account.
Follow guided setupComplete initial setup
Sign in, check licensed features, and prepare your first camera.
Open the web UIBuild your monitoring workflow
Section titled “Build your monitoring workflow”Follow these guides from your first camera through a reviewed incident. Each UI walkthrough uses the EyesOnIt web client.
Understand the workflow
See how cameras, detections, rules, and incident review fit together.
Start here 02Connect a camera
Add a video source, check its live view, and open camera configuration.
Connect your camera 03Define the area
Draw regions around work areas and lines across boundaries.
Set regions and lines 04Create an incident rule
Choose matching objects, timing, active hours, and an incident name.
Configure a rule 05Notify your team
Add a delivery profile, notifications, and video evidence.
Set actions and evidence 06Review what happened
Inspect evidence, claim ownership, and record the outcome.
Review incidentsDetect and find activity with words
Section titled “Detect and find activity with words”Follow a campus example from a written description to detection and video search.
Detect a described person
Use clothing and backpack details to define a match and create an incident.
Configure natural-language detectionSearch campus video
Find appearances across camera history and watch for new matches.
Search archive and live videoWork with video and camera groups
Section titled “Work with video and camera groups”Bring in recorded footage, organize your sources, and follow an appearance through the archive.
Process a recorded clip
Choose a video file, configure its detections, and run a repeatable test.
Add a video sourceOrganize your cameras
Build shared folders for sites, areas, and investigations.
Create camera foldersReview recorded video
Navigate the timeline and open footage around incidents or search results.
Play back recordingsFind a visual match
Search with a reference image, then watch for new appearances.
Search by imageRecognize people you have enrolled
Section titled “Recognize people you have enrolled”Build the identity directory, organize teams, and use faces in detections and searches.
Enroll a person
Create an identity and add clear face photos.
Manage people and samplesOrganize identity groups
Choose teams and watch lists for recognition workflows.
Create identity groupsRecognize enrolled people
Create a face-recognition incident rule and search for appearances.
Configure face recognitionRun EyesOnIt day to day
Section titled “Run EyesOnIt day to day”Give your team access, protect sign-ins and recordings, and check system health.
Manage team access
Choose roles and assign the cameras each person needs.
Manage usersSecure your account
Set up an authenticator and prepare account recovery.
Protect your sign-inManage recording history
Review storage, set retention, and protect important footage.
Manage recording storageCheck system health
Review camera activity, processing resources, and available features.
Review system healthTroubleshooting and customer administration
Section titled “Troubleshooting and customer administration”Find the cause of a problem with sign-in, cameras, detections, recordings, search, or delivery. Provider administrators can set up customer workspaces and transfer identities or review shared access.
Start with a clear camera view.
Good placement and representative testing help you build detections your team can use with confidence.