
Play back recordings
Review what happened before and after an event. Open recorded video by camera and day, or go directly to an appearance found in Search.
Before you start
Section titled “Before you start”Use an account with access to the camera and its recorded media. For ongoing camera history, enable Continuous recording in Monitor → Configure → Camera → Recording. Recording settings explains retention.
You can also review recordings created while processing a video file.
Watch the walkthrough
Section titled “Watch the walkthrough”Follow this captioned EyesOnIt web UI walkthrough, or use the written steps below.
1. Choose the camera and day
Section titled “1. Choose the camera and day”- Open Archive.
- In Cameras, open a folder or use Search groups or cameras to find the source. Select one camera or video source.
- Use Previous day, Next day, or Today to choose the day to review.
- Check the camera name, date, and displayed time above the video.
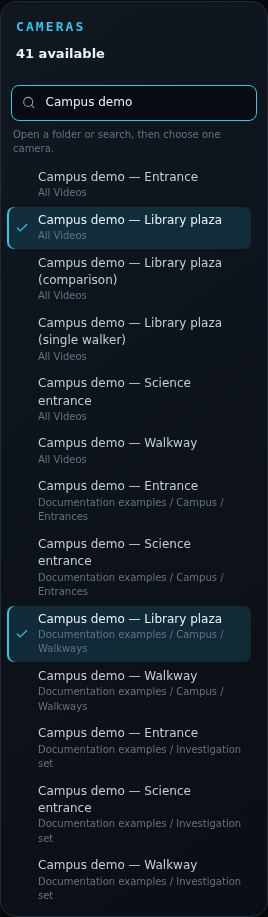
The camera selector uses your camera organization. Choose a single source here to review its timeline.
2. Select and play recorded video
Section titled “2. Select and play recorded video”Recorded intervals shows when footage is available for the selected day. Hover over the timeline to see the time, then click a recorded interval to move the playhead there.
Use the video player’s controls to play, pause, seek within the current segment, or enter fullscreen. Previous and Next beneath the player move through available recording segments.
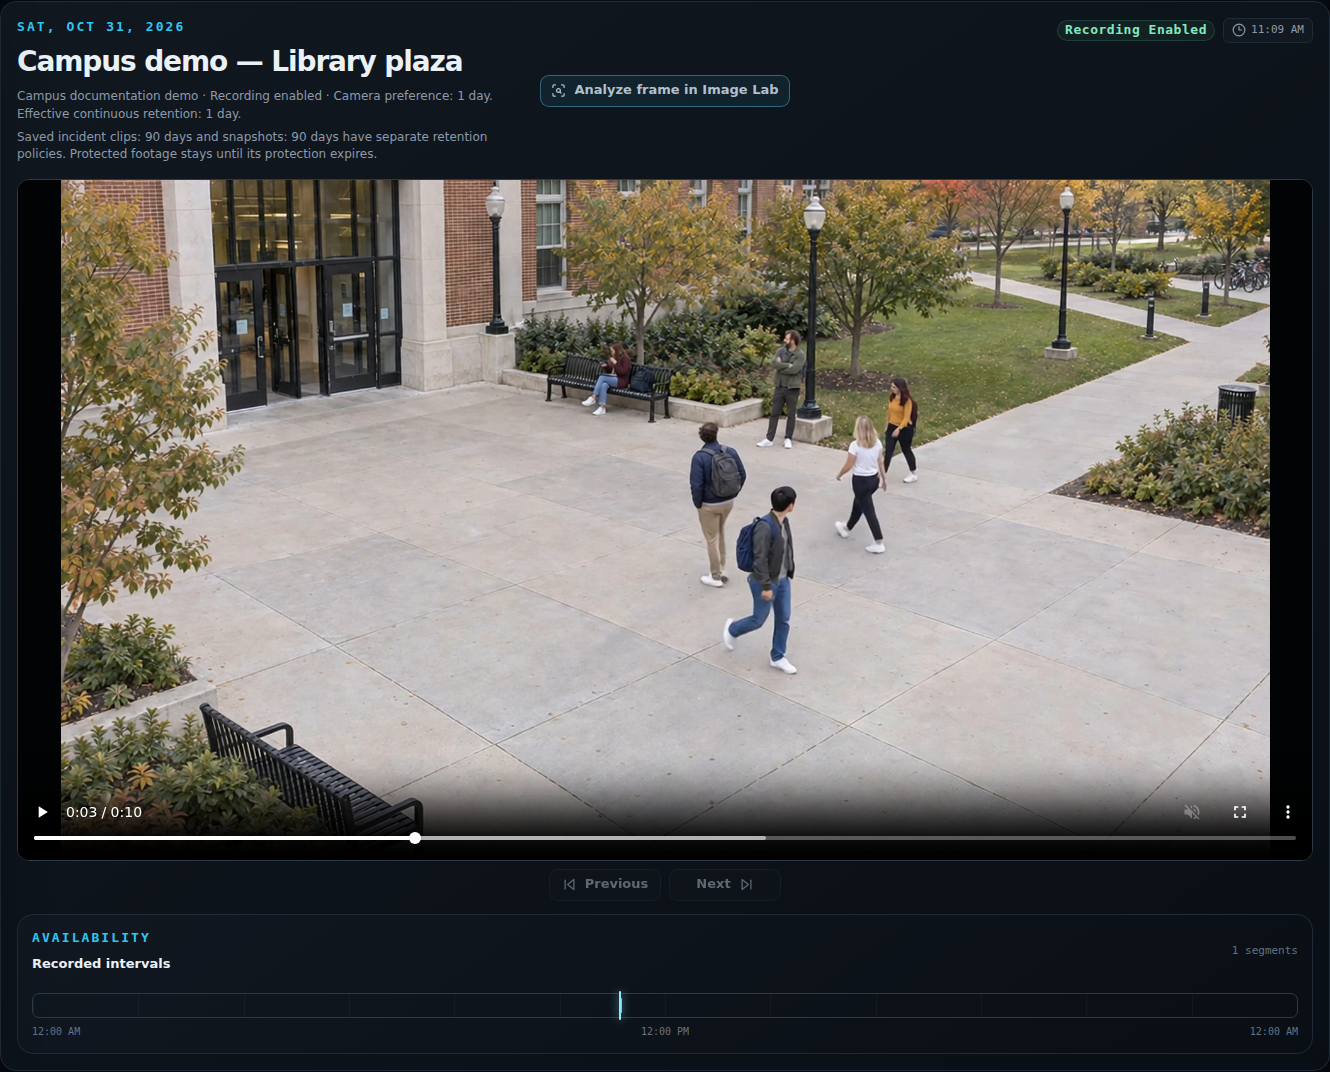
When the playhead is between recordings, Jump to next recording takes you to the next available footage. You can also select another recorded interval on the timeline.
3. Open the video around an event
Section titled “3. Open the video around an event”| Starting point | Action |
|---|---|
| Search result | Choose Open playback on the candidate card. Archive opens that source at the result time. |
| Incident evidence | Choose View in archive when available to review the surrounding recording. |
| Monitor source details | Choose View archive to open the source’s recorded history. |
Pause at the event, then review the approach and what follows. For example, after finding a person in campus video, check their clothing, backpack, and direction of travel in the recording.
Export a recording or evidence clip
Section titled “Export a recording or evidence clip”- In Archive, select the camera, day, and recorded interval. Play the segment to confirm the camera and time. For an incident, select it under Incidents, choose Play clip when available, and wait for playback to load.
- In a Chromium browser, move the pointer over the video and open the player’s ⋮ menu at the lower right. Choose Download and use the browser’s download location or save prompt. Other browsers control the wording and placement of their media actions.
- Open the downloaded video and check its duration and content. Archive downloads the selected MP4 segment. To preserve footage spanning a segment boundary, download each required segment. From an incident, the player downloads the compiled evidence clip. Its file can include footage outside the time range printed on the incident. Review the beginning and end before sharing it.
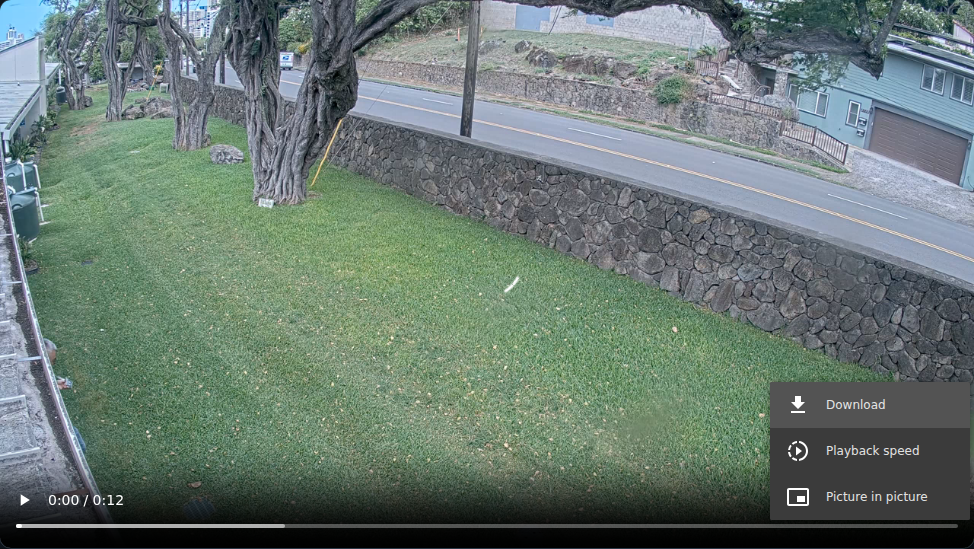
If the interval is a gap, move to an available recording. If the incident has a snapshot but no playable clip, check evidence settings. To keep the server copy beyond ordinary expiry, protect the recording.
Inspect a frame in Image Lab
Section titled “Inspect a frame in Image Lab”Pause on a useful frame and choose Analyze frame in Image Lab. EyesOnIt opens that frame with the source’s current detection configuration so you can inspect regions and test descriptions.
Use the frame to refine your detection setup, then test moving video to confirm timing. Natural-language detection shows this workflow.
Continuous recordings and incident evidence have separate retention settings. Review an incident’s saved snapshot or clip from Incidents, and use Archive for surrounding camera history.
To review storage usage, protect a recording, or manage site retention, follow Storage and retention.