
Organize identity groups
Select a team once and use it across your recognition workflows. Identity groups let you detect or search for any enrolled person in a selected group.
Before you start
Section titled “Before you start”Open Identities in the EyesOnIt web UI with permission to manage the directory. Choose groups that describe the people you want to recognize, such as campus staff or an entrance watch list.
Identity groups contain people. Camera folders contain video sources. A face search combines both: who to find, and which cameras to search.
Watch the walkthrough
Section titled “Watch the walkthrough”Follow this captioned EyesOnIt web UI walkthrough, or use the written steps below.
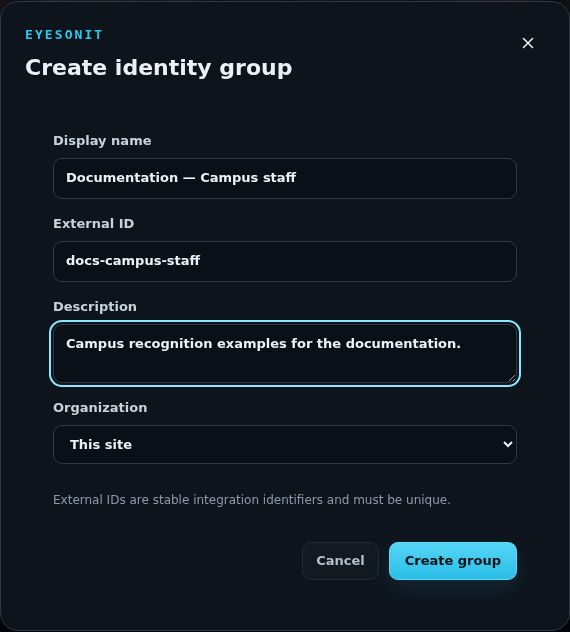
1. Create a group
Section titled “1. Create a group”- In Groups, choose Add group.
- Enter a Display name, such as Documentation — Campus staff.
- Enter a unique External ID, such as
docs-campus-staff. - Add a Description explaining the group’s purpose. Select an Organization if offered.
- Choose Create group.
2. Add people
Section titled “2. Add people”Choose Add identity and select the group under Groups when creating the person. A person can belong to several groups—for example, both Campus staff and Entrance watch.
To create several people together, select the group and choose Choose photos. Review the names and IDs, then choose Add to … to create the identities and enroll their photos. See Enroll people for file naming and photo guidance.
Select the group to review its members. Find a person narrows that list by name or external ID; All identities returns to the full directory.
3. Use the group
Section titled “3. Use the group”| Workflow | Choose |
|---|---|
| A region’s Detection → Face configuration | Groups, then the groups to detect. |
| Search → Archive → Face | Search for the group name or external ID and select the matching Group result. |
| Search → Live → Face | Select the group and the cameras to watch. |
Follow Face recognition to configure the rule or search.
Maintain memberships and names
Section titled “Maintain memberships and names”With a group selected, use the person’s Remove … from … control and review the confirmation. Remove from group preserves the identity, its photos, and its other memberships.
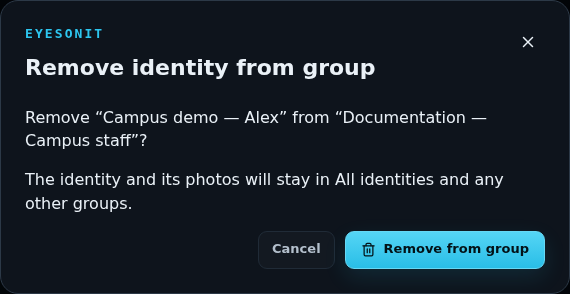
For several members, select their checkboxes and choose Remove selected from group. Select all shown applies to the manageable identities in the current view.
Use Edit group to update the name or description. To retire a group, remove its members, choose Delete group, and review the confirmation. In All identities, the deletion controls act on the identities themselves; choose the relevant group when your task is membership removal.