
Back up and recover a server
Keep a recoverable copy of the server and verify it before you need it. A complete recovery plan covers the installation, private configuration, application data, and every recording volume.
Watch the walkthrough
Section titled “Watch the walkthrough”Plan the recovery copy
Section titled “Plan the recovery copy”Choose your server or virtualization platform’s backup method and an approved private destination. Record the installed EyesOnIt version and the time of the backup. Include these items in the same recovery plan:
| Include | Purpose |
|---|---|
| System disk and installed application | The matching application, services, runtime, and deployment state. |
| Private configuration and credentials | License access, HTTPS, accounts, and integration credentials. |
| Application data | Cameras, rules, identities, incidents, indexes, and retained metadata. |
| Every recording volume | Continuous recordings and saved incident media. |
Store the recovery copy with access limited to the people responsible for recovery. Use encryption for storage and transfer. For a cluster, coordinate PostgreSQL recovery and versioned object storage with the node backups.
Capture a consistent backup
Section titled “Capture a consistent backup”On the server, check its version and readiness:
sudo eoi status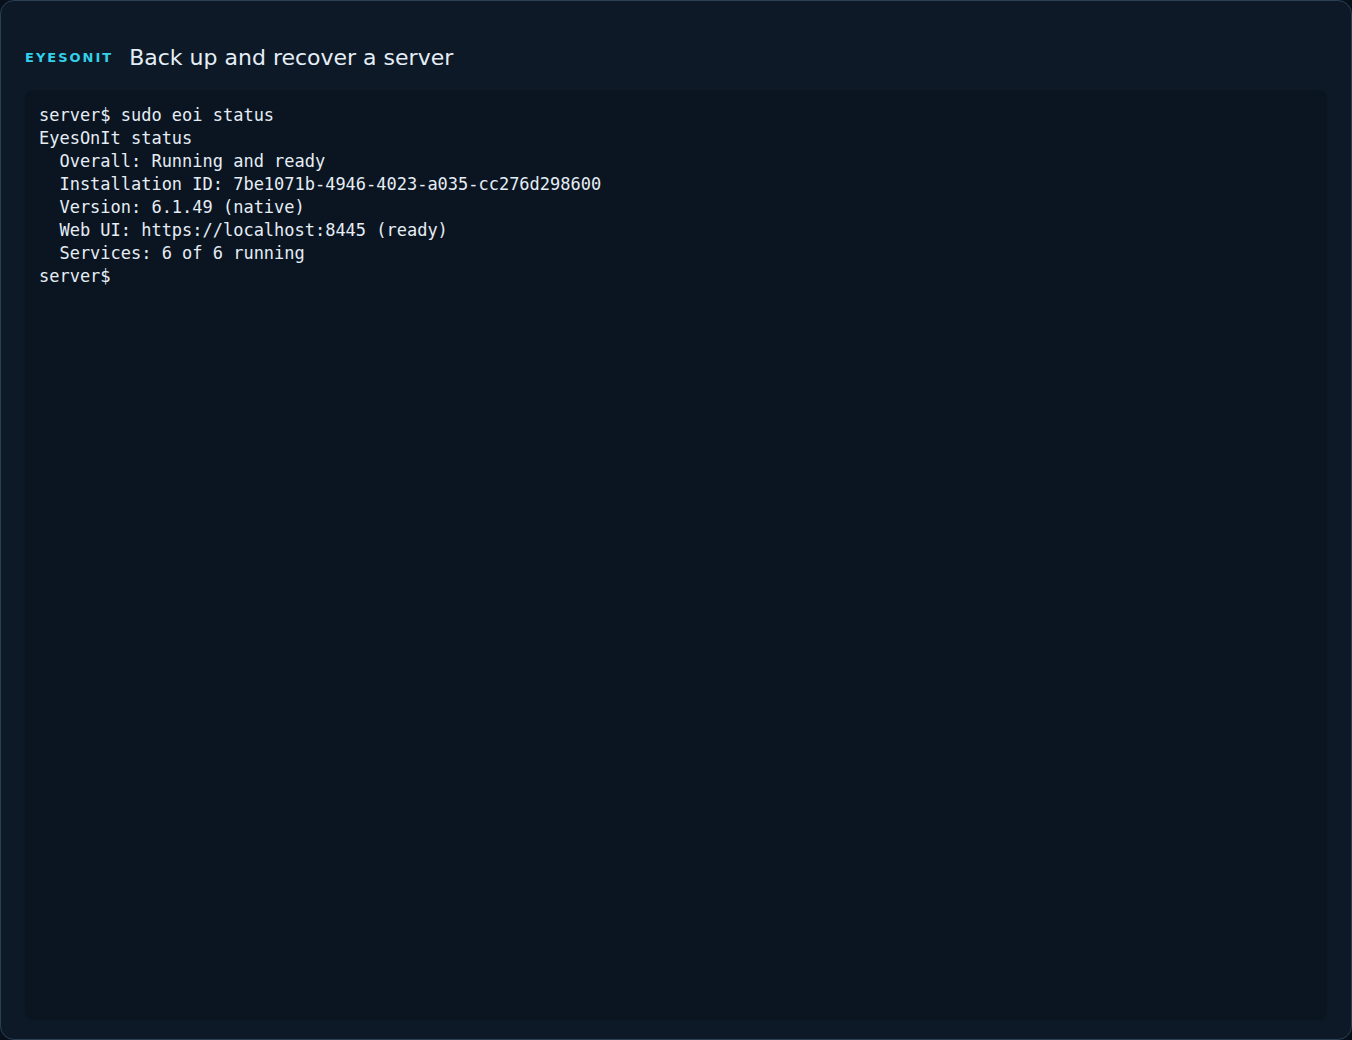
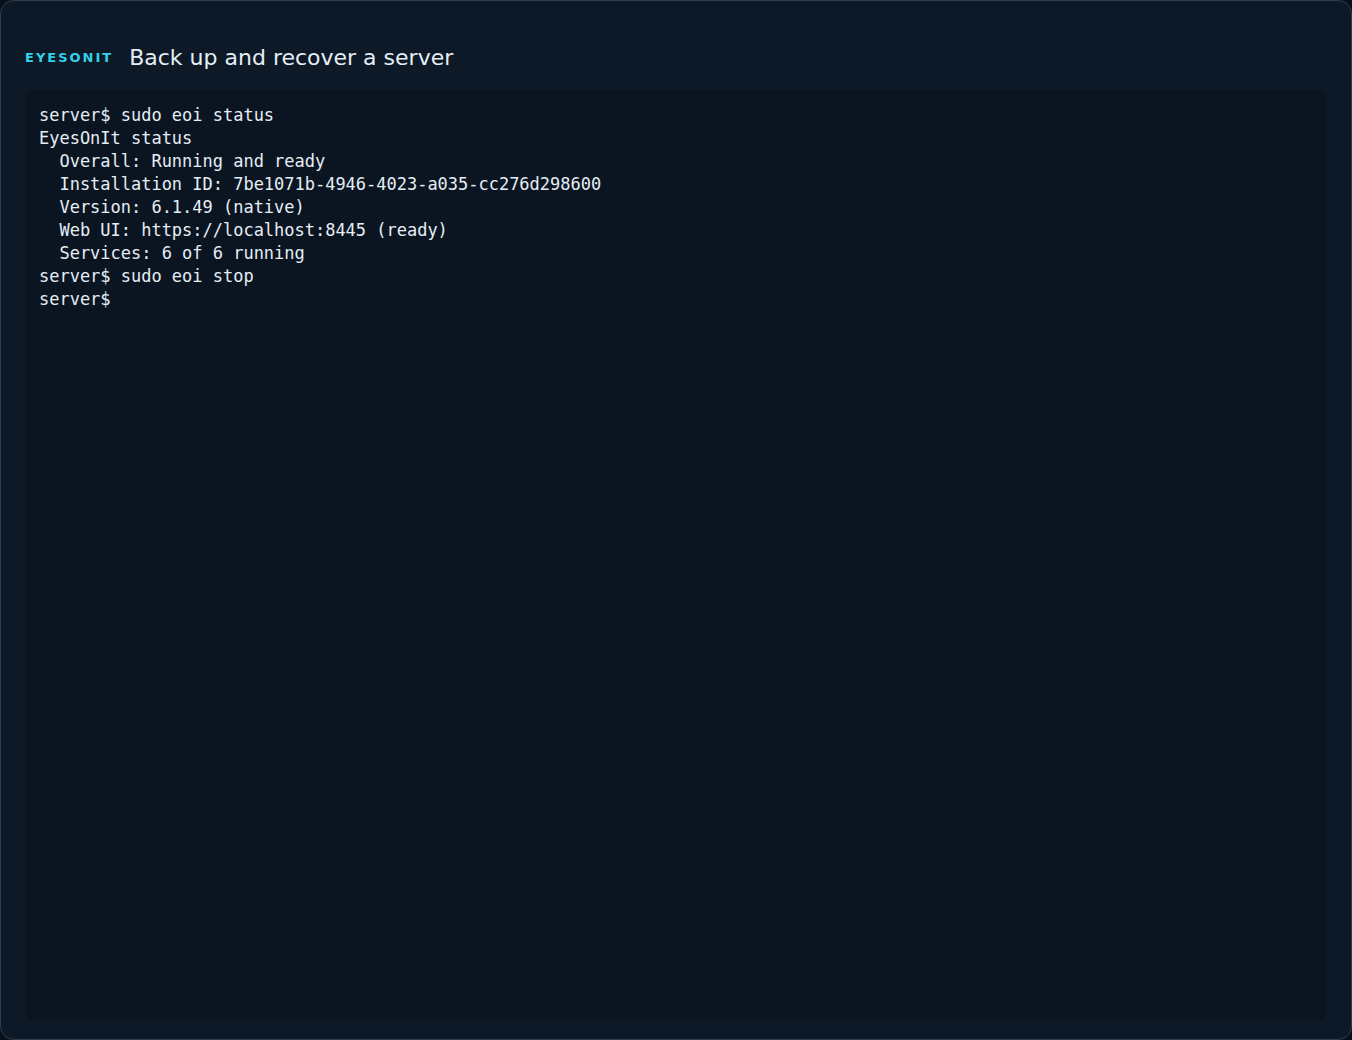
During the planned maintenance window, stop EyesOnIt:
sudo eoi stopTake a complete backup or coordinated snapshot of the server’s disks and recording volumes. Keep the application stopped until the snapshot is complete. Record the backup identifier and checksum or the backup platform’s integrity result.
Start the original server when the backup is complete, then check readiness:
sudo eoi startsudo eoi statusRehearse recovery
Section titled “Rehearse recovery”- Restore the backup to an isolated recovery server with the required NVIDIA hardware and runtime. Keep the original and recovery copies from processing the same cameras at the same time.
- Restore every required data volume and its mount point.
- Start EyesOnIt and check eoi status.
- Open the restored HTTPS address and sign in.
- Verify the cameras, configuration, permissions, and identities you expect. Play a known retained recording and run a representative archive search.
- Record the result and the time needed to recover.
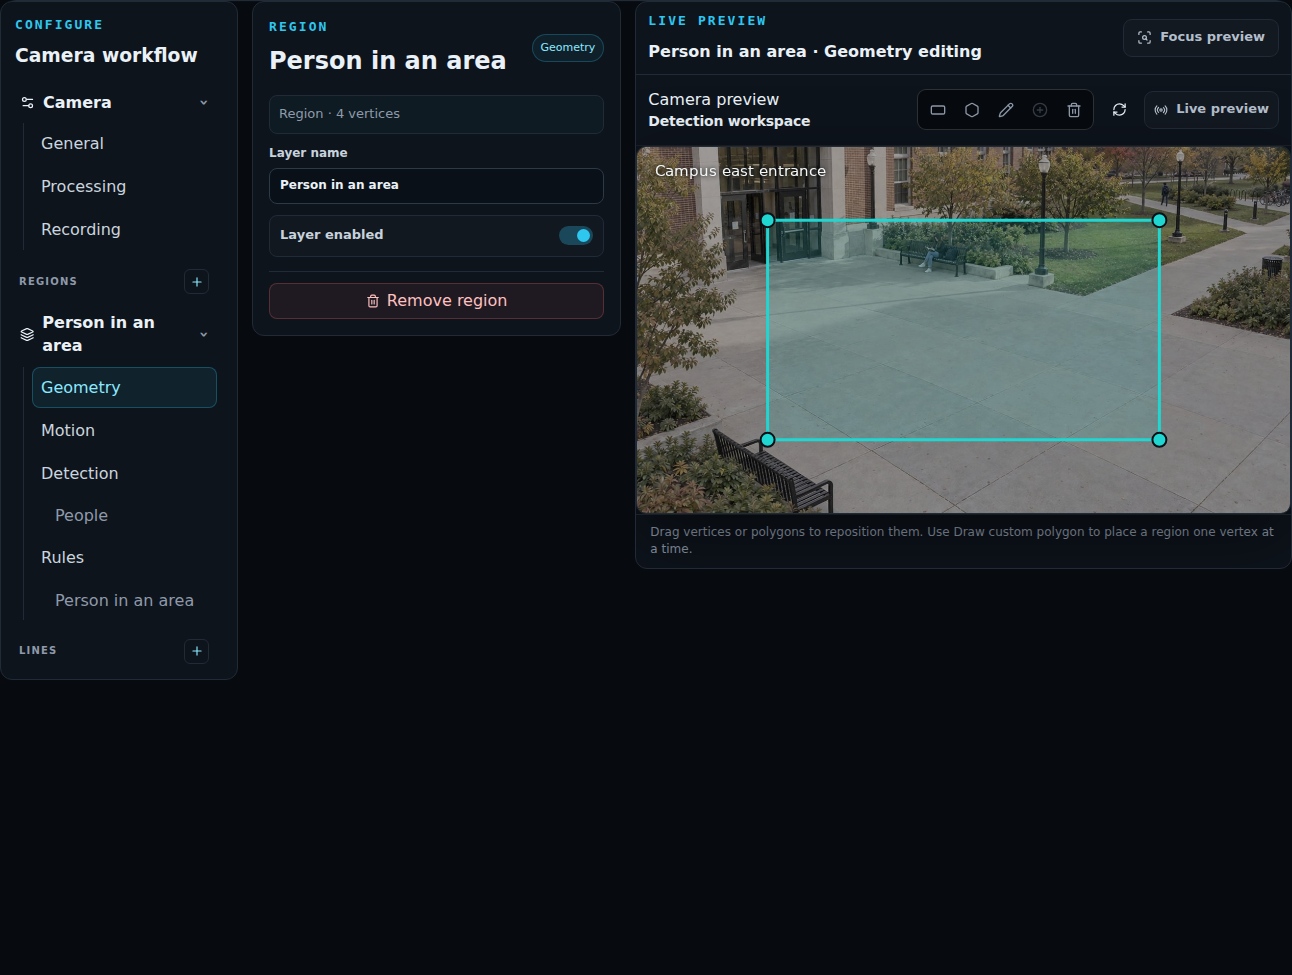
The walkthrough uses a disposable WSL server and WSL export/import for the system backup. Use the corresponding disk-backup and restore workflow for your production platform. Keep the verified recovery copy and its version information according to your backup policy.
For an application update, the managed installer also maintains its transactional recovery state. See Upgrades and rollback.