
Organize identity groups in Genetec
Group enrolled people so a rule or search can follow the team you care about.
Create and populate a group
Section titled “Create and populate a group”- Open EyesOnIt Face Recognition → Directory.
- In Groups, choose Add group.
- Enter Group name, Group ID, and an optional Description, then save the group.
- Find and select an identity. Under Assigned groups, check the intended group and choose Save changes.
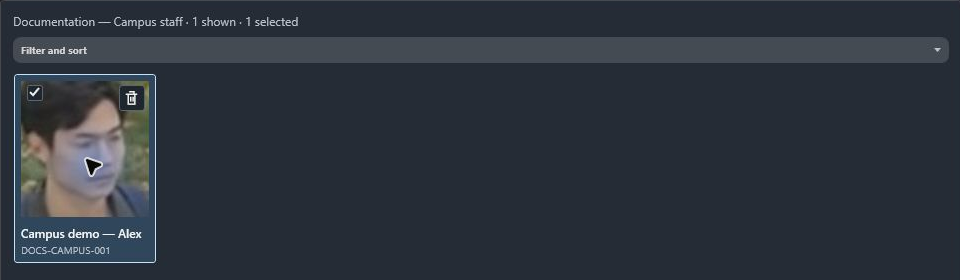
- Select the group in the left navigation to verify its members.
The campus example uses Documentation — Campus staff and includes Campus demo — Alex. A second group, Documentation — Entrance watch, can contain the same identity for a different investigation.
Update several identities
Section titled “Update several identities”Select several identity tiles to open the multiple-selection details. Review Assigned groups, make the intended changes, then use Save groups or Cancel before browsing elsewhere. Check the selection count before applying a batch edit.
Use Edit group to update the selected group’s details. Remotely managed entries remain controlled by their owning system.
Use the group
Section titled “Use the group”In a camera’s Detection Configuration → Face, choose Group and select the group. In Security Desk’s Face search tab, choose Group and find the same entry. Follow Face recognition to complete the camera rule and Search video for archive scoping.