
Monitor cameras
Keep the cameras you need in view, check that video is being analyzed, and open a larger live view when something needs a closer look.
Watch the walkthrough
Section titled “Watch the walkthrough”Choose your cameras
Section titled “Choose your cameras”Open Monitor, then Camera scope. Select cameras or shared folders and choose Apply. For example, select the entrances for a shift handover or the cameras covering a work area.
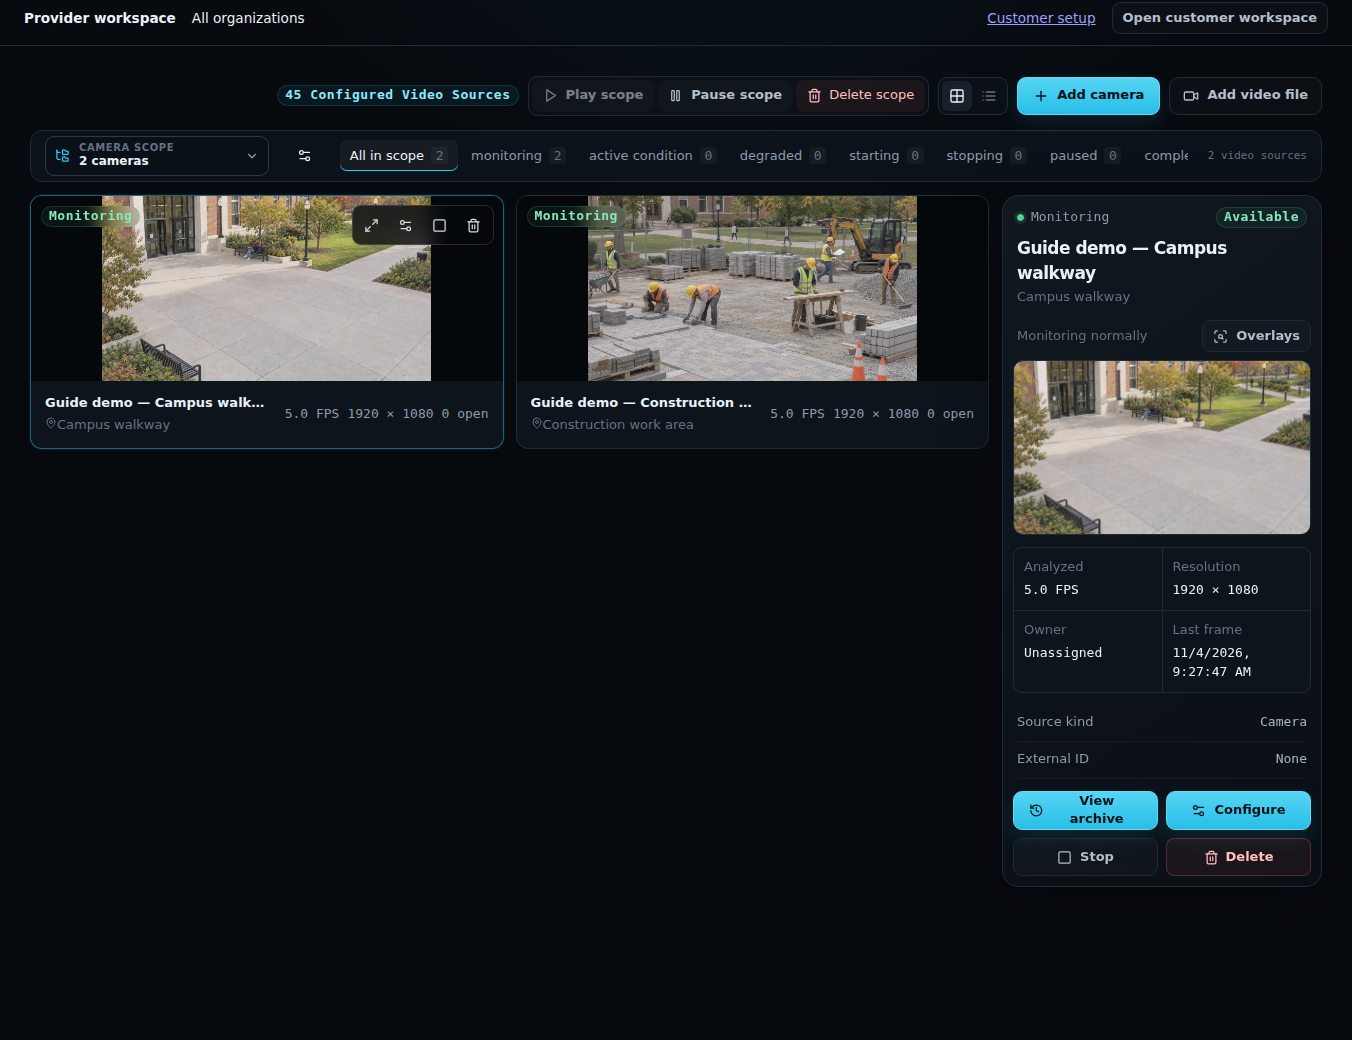
Use the status filters to find cameras that are monitoring, paused, or need attention. The counts describe the cameras in your scope. Switch between Grid view for live images and List view for a compact status comparison.
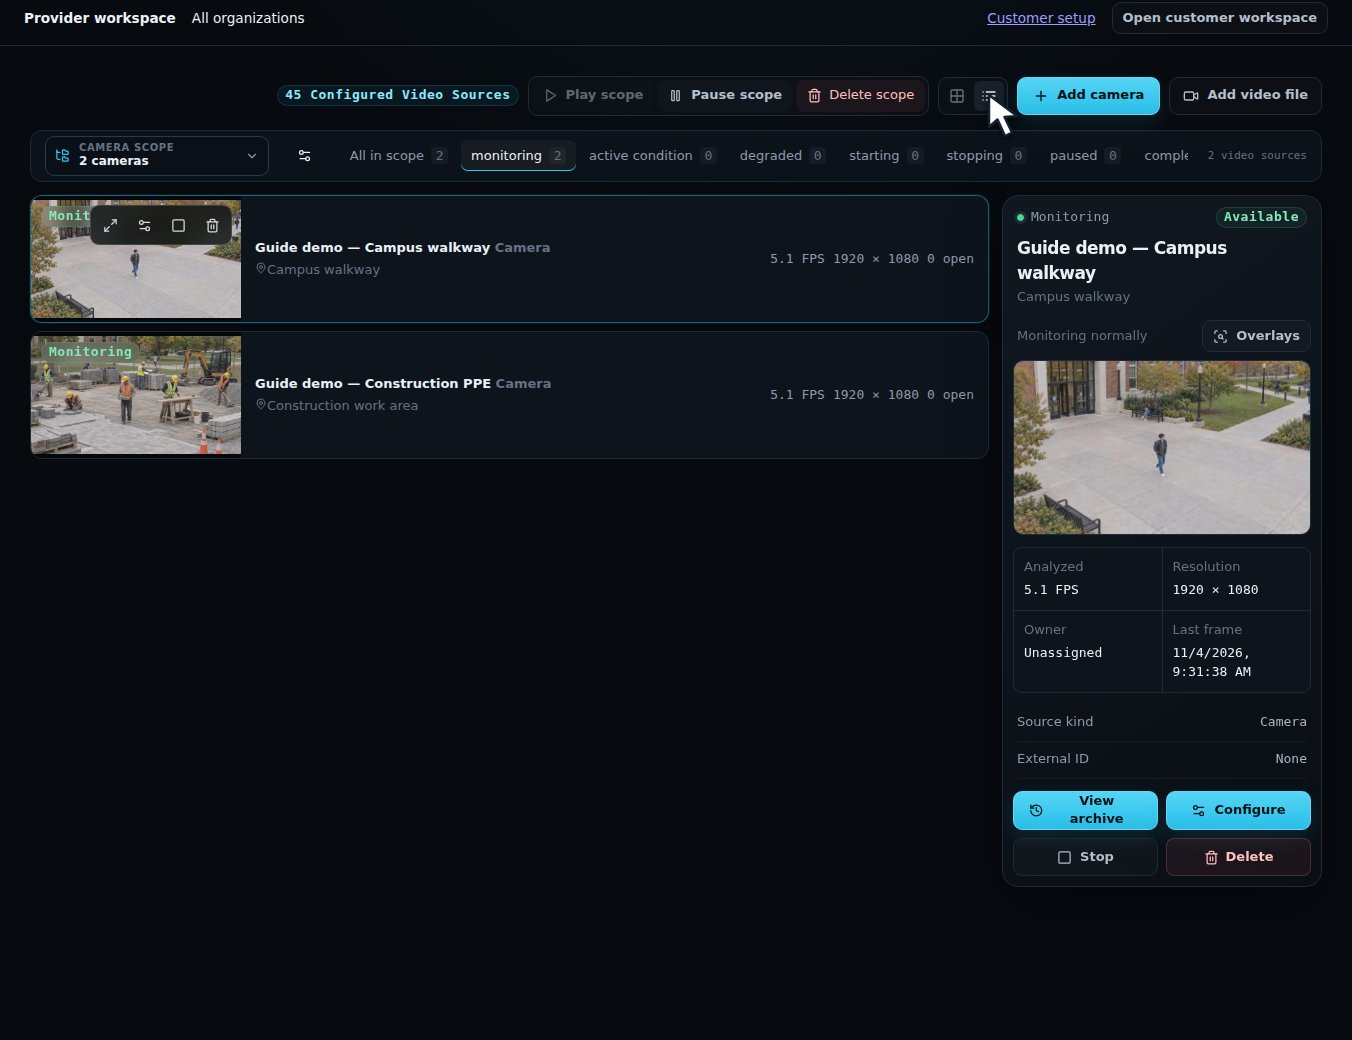
Inspect live video
Section titled “Inspect live video”Select a camera to see its details. Check the analyzed frame rate, resolution, and last-frame time alongside the live image. Open its live video for a larger view with detection annotations.
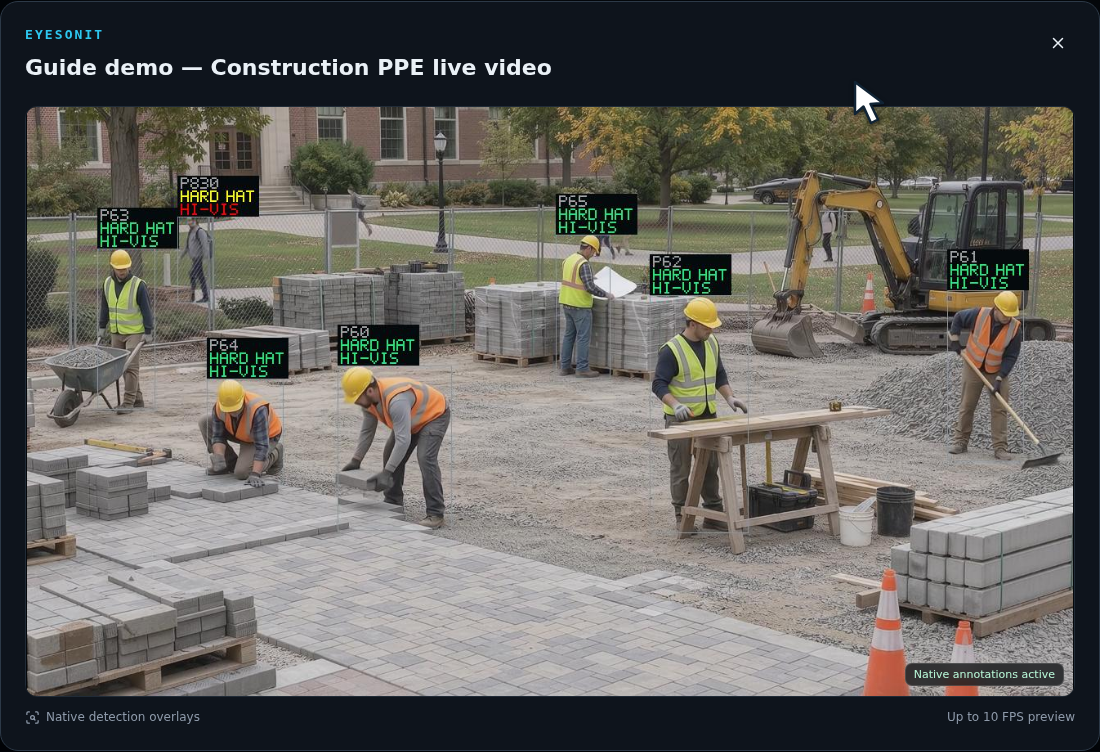
Use View archive to review recorded video or Configure to adjust the camera. To investigate an alert, open Incidents.
Pause and resume monitoring
Section titled “Pause and resume monitoring”Select the camera and choose Stop before a maintenance task. Choose Start to resume it, then check that the status returns to monitoring and the frame rate updates.
Play scope and Pause scope apply to the cameras in the current scope. Review the scope before using either control. Starting and stopping cameras requires the appropriate camera permissions.
If a source is offline or shows a blank live view, follow Troubleshoot EyesOnIt.