
Export and import camera configurations
Move reviewed camera configurations to another EyesOnIt server. Select the cameras, export their configuration, and review the destination before importing.
Watch the walkthrough
Section titled “Watch the walkthrough”Export the selected cameras
Section titled “Export the selected cameras”In the web UI, sign in as a system administrator and open Administration → Transfers. In the camera transfer section, choose Export streams, then select the sources you want to export. Use camera scope and source-type filters to keep the selection focused. Choose Export … selected streams to download the camera configuration file.
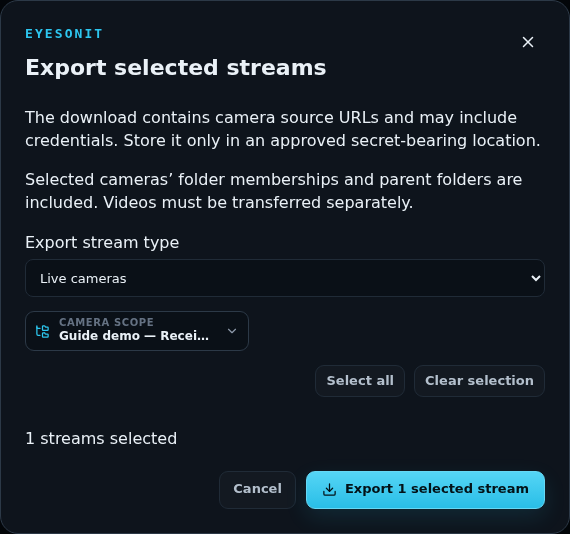
The export can include camera connection credentials. Keep the file in approved private storage and transfer it securely to the destination administrator.
Review the destination
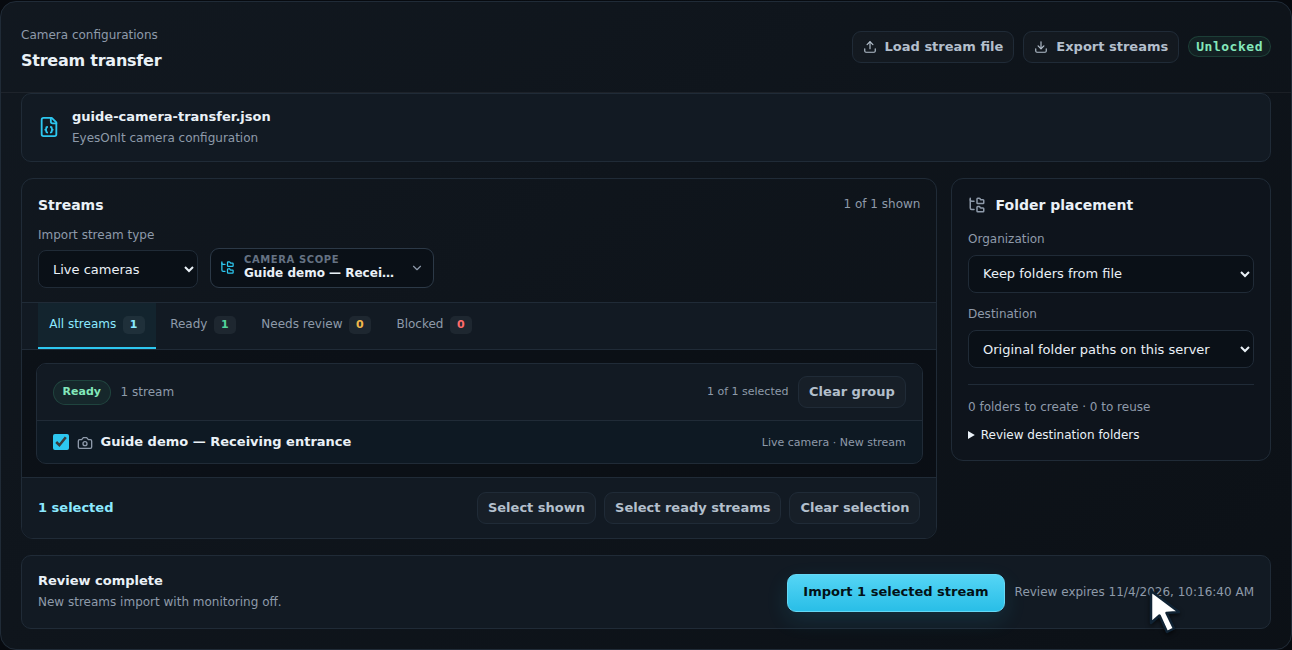
Section titled “Review the destination”Open Administration → Transfers on the destination and choose Load stream file to open the exported file. Review the camera list and findings, then select the new cameras to import. Cameras already present are identified so you can distinguish them from new entries.
Review folder placement with the import. Choose Review selected import to check the selection with the server. Choose the intended destination folders and inspect the preview before applying it. For recorded-file sources, also choose the server with access to the video files.
Import and verify
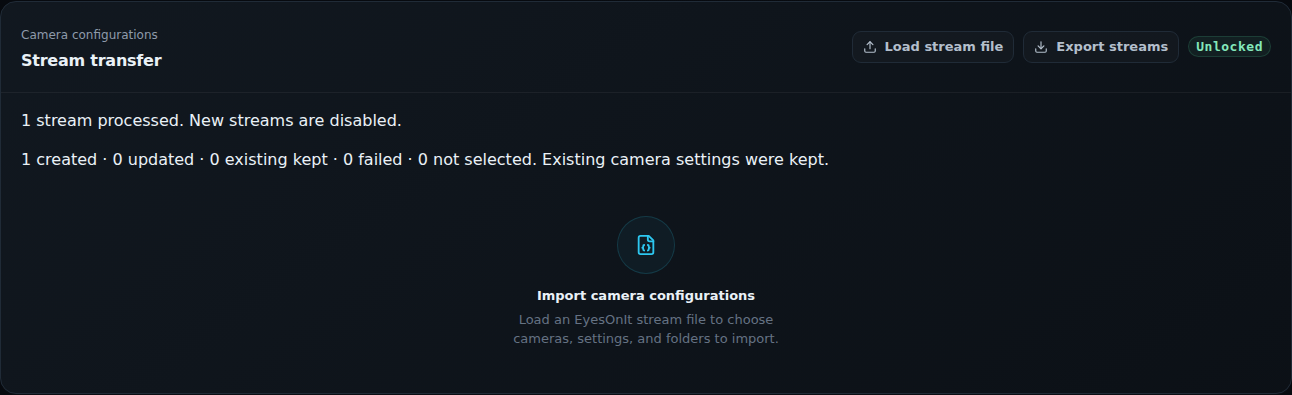
Section titled “Import and verify”Choose Import … selected streams to apply the reviewed import. Read the completion summary, then open Monitor and inspect the new cameras. Check connection settings, regions, schedules, and notification profiles on the destination. Start monitoring when the configuration is ready and verify live video.
To replace one existing camera’s configuration, open that camera’s Configure page and choose Import. Review the replacement preview for that camera before applying it. Use Export there when you need only that camera’s saved configuration.
Camera configuration transfer is useful for deployment and reuse. Maintain a separate server recovery plan for application data, recordings, and credentials.