
Choose object types and size filters in Genetec
Choose which objects qualify before adding a description, face, reference image, or PPE condition.
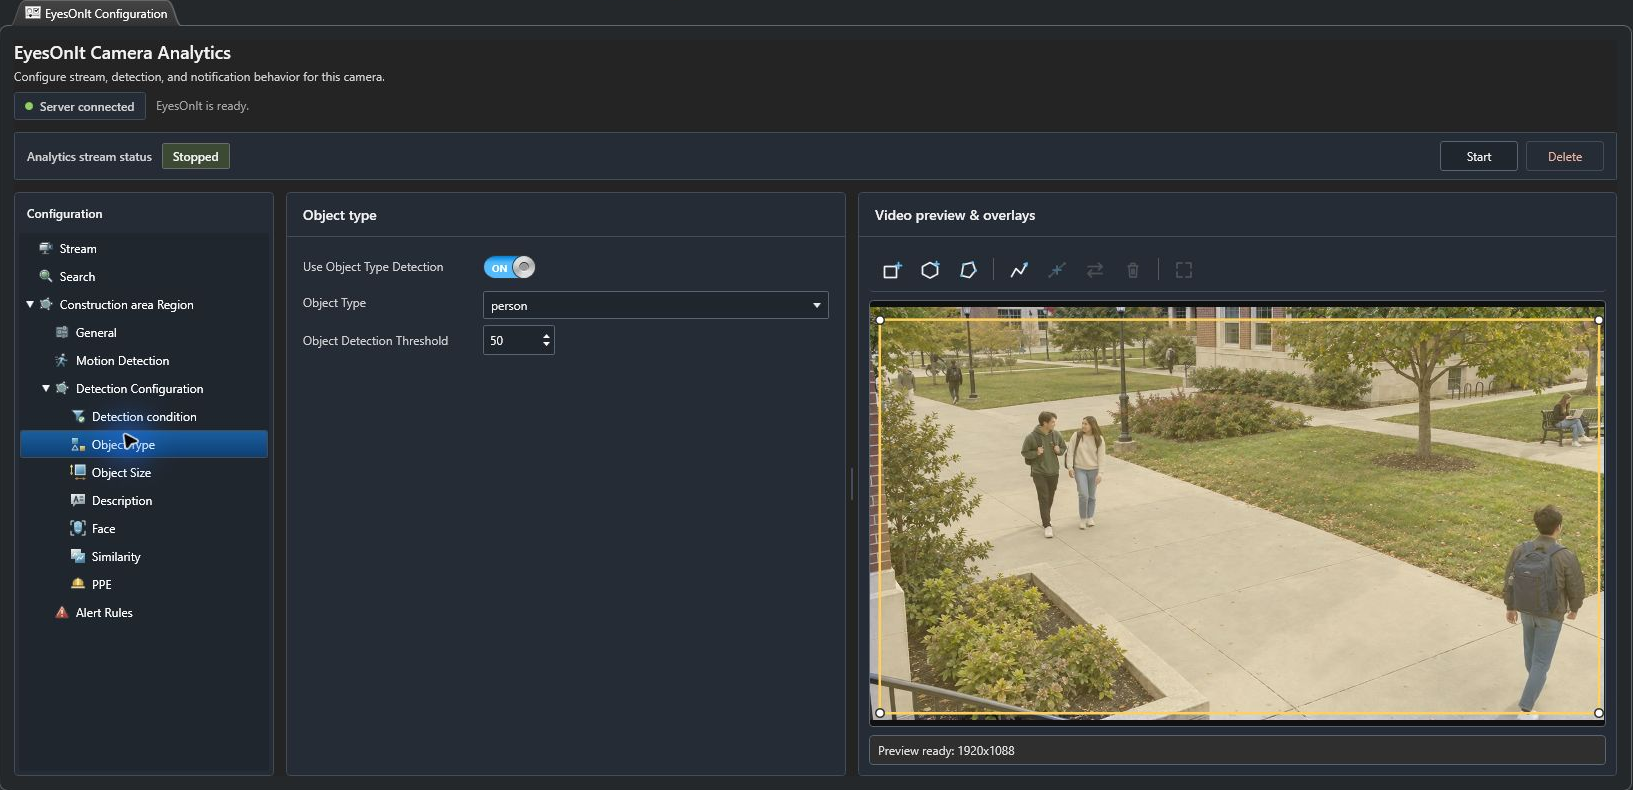
Choose the object type
Section titled “Choose the object type”- Open the camera’s Analytics → EyesOnIt Configuration.
- Select the region, then Detection Configuration → Object Type.
- Turn Use Object Type Detection on.
- Choose person for the campus and lab examples.
- Set Object Detection Threshold. The illustrated value 50 corresponds to a confidence of 0.5 in the web UI’s example.
Set optional size limits
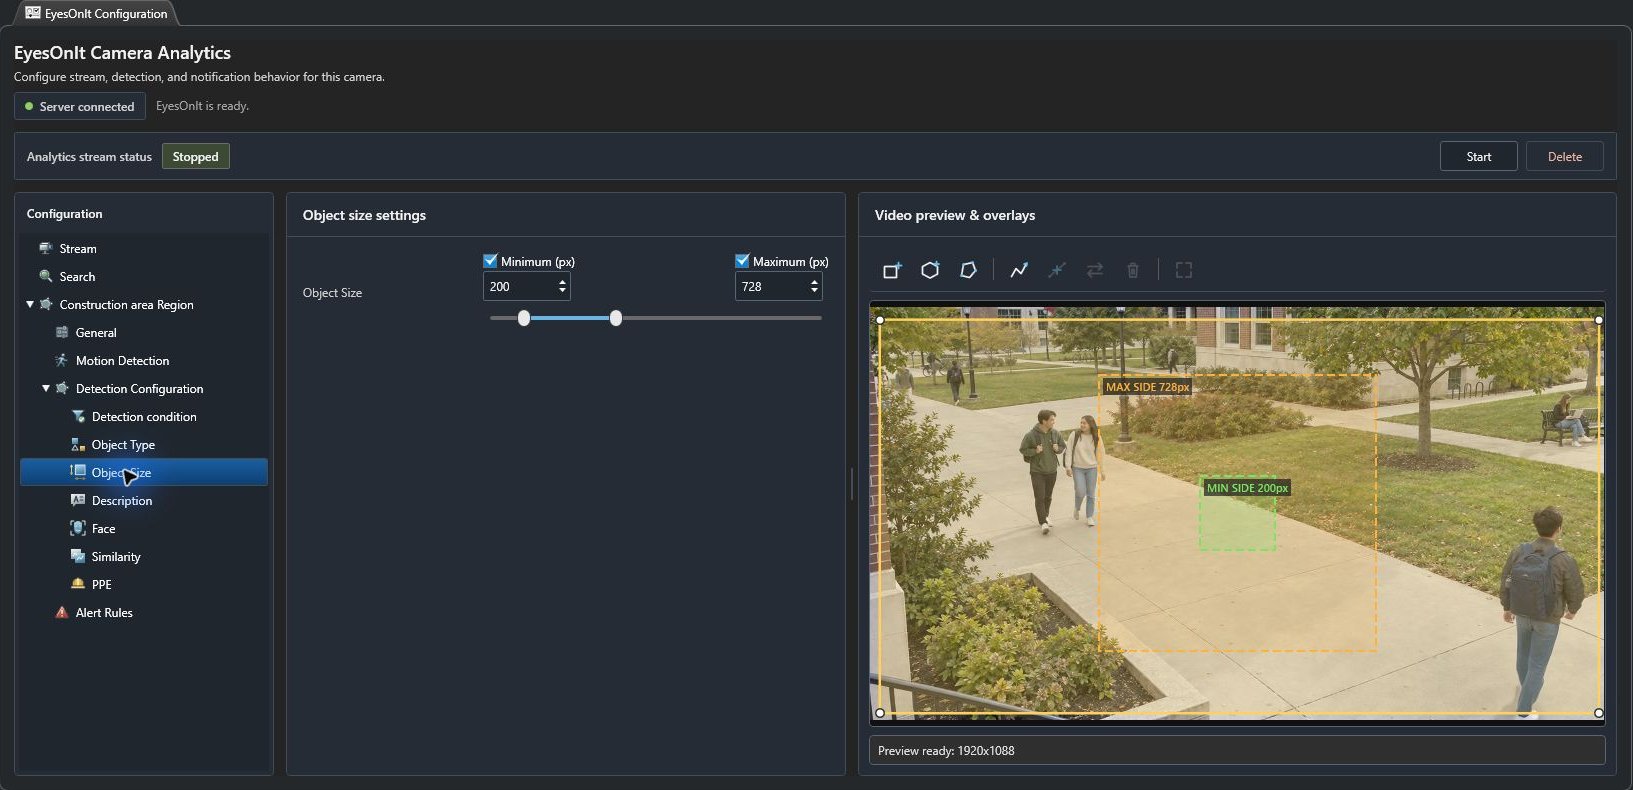
Section titled “Set optional size limits”Open Object Size. Check Minimum (px) or Maximum (px) to enable each bound, then enter its value or adjust the range control. The preview shows size guides against the camera image.
Start a new example without size bounds when you need to understand which people are detected. Add bounds after checking nearby and distant positions. For the 1080p library-plaza description example, the web UI uses 100–1080 px; enter those values only for the equivalent source and verify the preview.
Read Detection condition → Detection summary, configure the alert rule, and apply the camera configuration. Size and confidence filters continue to affect the region when an additional detection mode is enabled.