
Enroll people and manage face samples
Give a recognized face a useful name. Create an identity, add clear photos, and use that person in detections and video searches.
Before you start
Section titled “Before you start”Open Identities in the EyesOnIt web UI. Use an account with permission to manage identities in the current workspace.
Choose a sharp, well-lit JPEG or PNG showing one person’s face. A forward-facing view with both eyes visible is a good starting point. Crop a busy scene to the intended person before uploading it.
The examples use Campus demo — Alex, a sample name for the blue-backpack character in the campus footage.
Watch the walkthrough
Section titled “Watch the walkthrough”Follow this captioned EyesOnIt web UI walkthrough, or use the written steps below.
1. Create the identity
Section titled “1. Create the identity”- Choose Add identity.
- Enter a Display name that operators will recognize.
- Enter an External ID, such as
DOCS-CAMPUS-001. Use a stable, unique identifier for this person. - Select their Groups, such as Documentation — Campus staff. You can select more than one.
- Choose Create identity.
Create the identity groups first when you want to assign them during this step. If your account offers an Organization field, choose the workspace that should own the identity.
2. Enroll a photo
Section titled “2. Enroll a photo”- Select the person’s card. Use Find a person to search by display name or external ID.
- In the samples panel, choose Add photo and select your JPEG or PNG.
- Check the prepared face image and the updated sample count. EyesOnIt finds and prepares the face automatically.
- Add another useful view when needed, keeping each photo focused on the same person.
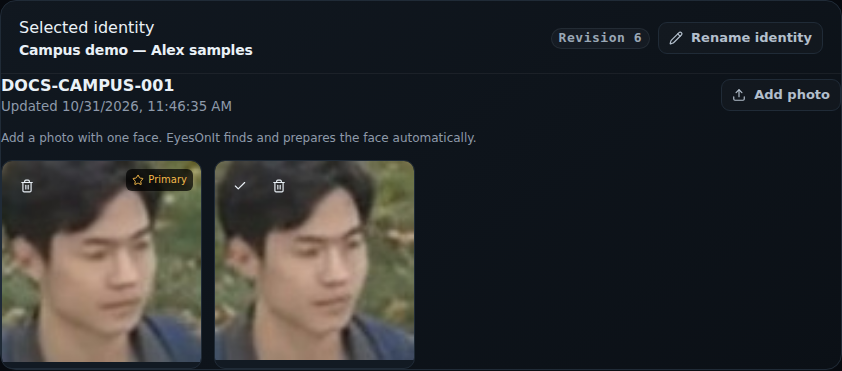
The Primary sample supplies the directory portrait. To change it, choose Make primary on another sample; the other samples stay enrolled. Keep clear, representative samples; use Delete sample to remove a photo you no longer need.
Add several people from photos
Section titled “Add several people from photos”Select a locally managed group, then use Choose photos or drop the files into the directory. Use JPEG or PNG files up to 4 MiB each.
File names can prepare the name and ID for you:
| File name | Display name | Identity ID |
|---|---|---|
Jane_Smith.jpg |
Jane Smith | jane-smith |
EMP1042__Jane Smith.jpg |
Jane Smith | EMP1042 |
Review the proposed names and IDs, then choose Add to …. Check that each identity and its photo were saved. Use Add photo on an existing person to enroll more samples for that identity.
Keep the directory current
Section titled “Keep the directory current”Rename identity changes the display name while preserving its external ID, groups, and samples. Remote managed records identify the system responsible for maintaining those people; update them through that system.
Next, organize identity groups or recognize enrolled people in video.
For cross-server transfers, customer grants, and retention or removal, see Transfer identities and manage customer access.