
Choose video quality and analysis rate
Start with a view that makes the important details clear. Then choose an analysis rate that fits the speed of the activity and verify the result in EyesOnIt.
Watch the walkthrough
Section titled “Watch the walkthrough”Check the view
Section titled “Check the view”Open Monitor and select the camera. Check the reported resolution and analyzed frame rate, then open its live video. Look at the smallest relevant detail in the part of the scene you will monitor: a person at the far doorway, a pair of gloves at a bench, or a face at an entrance.
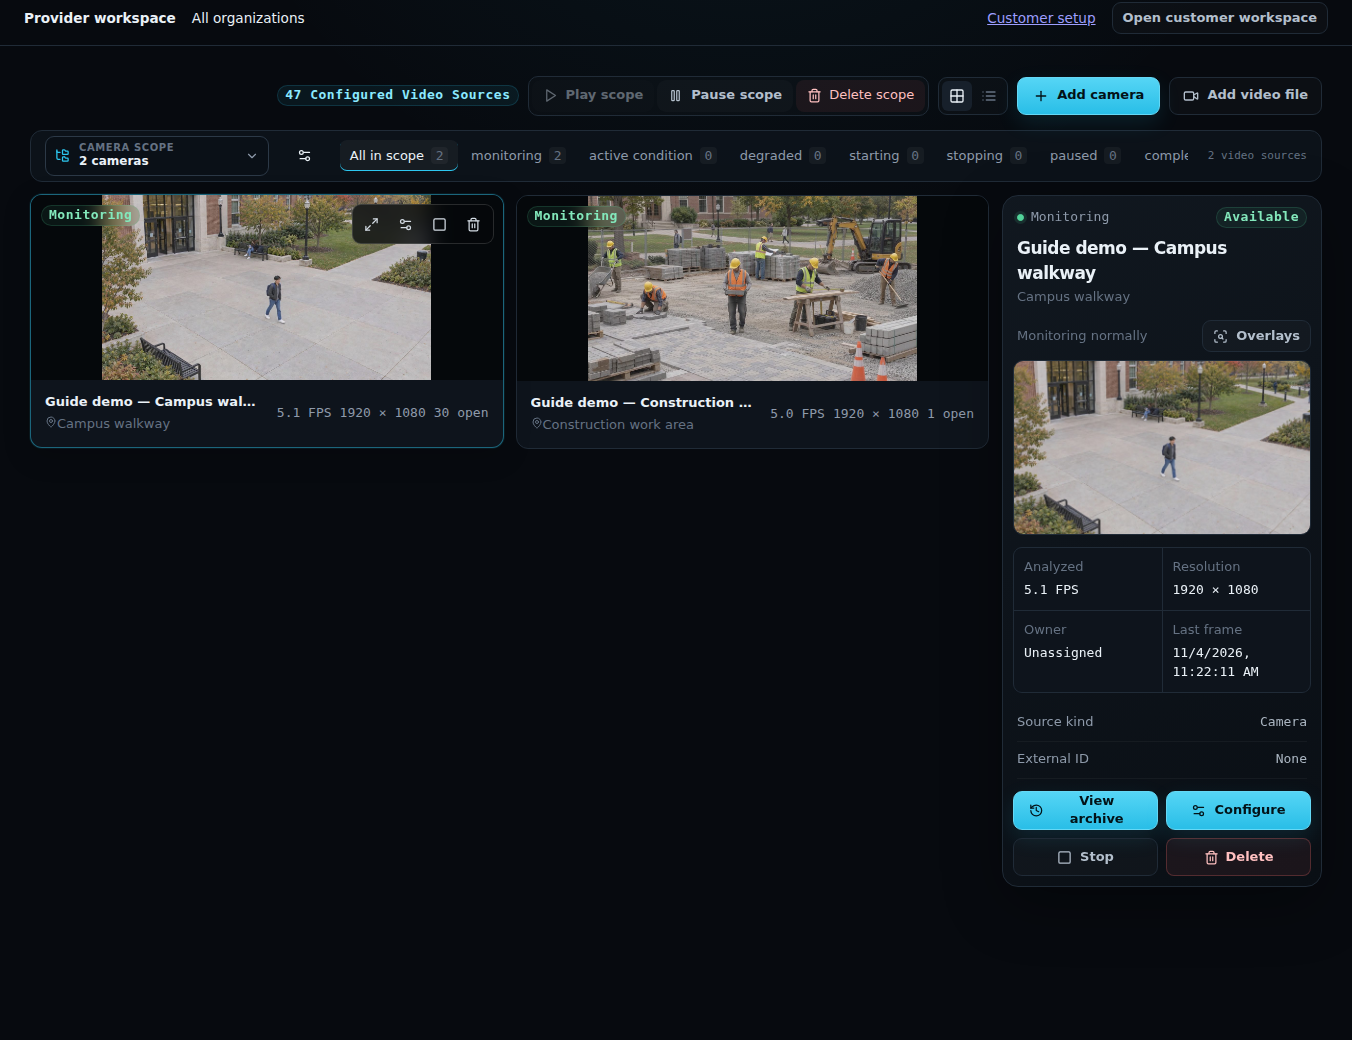
Set the camera’s stream resolution, encoded frame rate, and image quality in the camera’s own configuration. Use that stream’s address in EyesOnIt. Check focus, exposure, and lighting as well as resolution. A clear view of the hands, head, or face helps the corresponding analysis.
Choose the analysis rate
Section titled “Choose the analysis rate”- Open Configure → Camera → Processing.
- Set Analyzed FPS. The demonstration uses 5 FPS as a starting point.
- Choose Save configuration.
- Return to Monitor and check the reported rate while the scene is active.
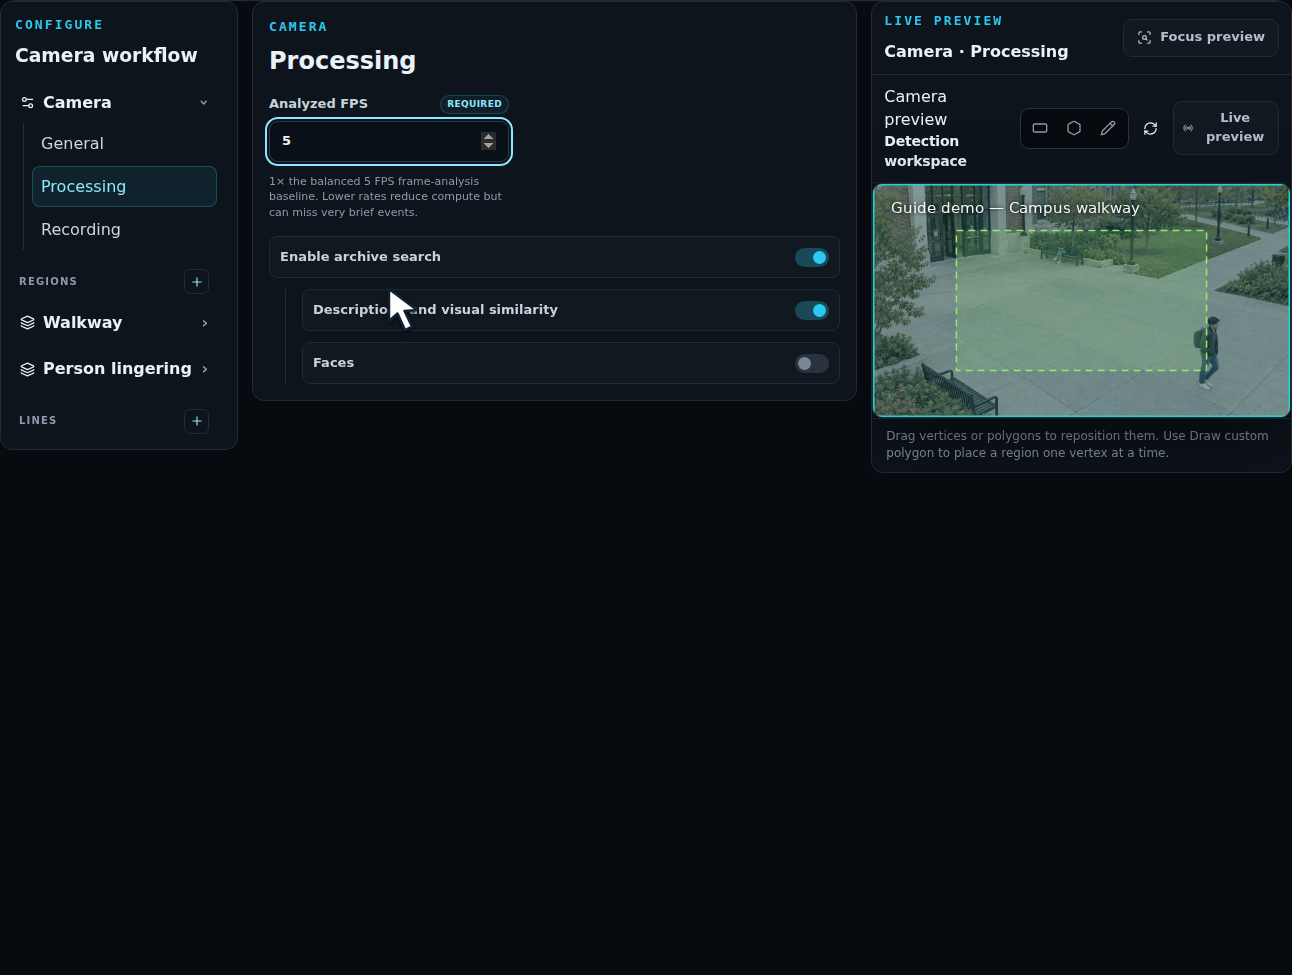
Use a higher analysis rate for faster movement or a brief crossing when testing shows it is useful. Judge a sustained-presence rule using the duration and movement of the actual event. Check System health as you add workloads.
Balance recording and detection needs
Section titled “Balance recording and detection needs”Continuous recording keeps the encoded camera stream. Changing Analyzed FPS changes analysis sampling; it does not set the camera’s encoded frame rate or recording resolution. Review recording retention alongside the stream’s data rate.
After changing source resolution, revisit pixel-based size filters and test the event again. Use the same recorded clip when comparing detection settings so you can see the effect of each change.