
Connect a camera in Genetec
Start with a working Genetec camera, then configure its EyesOnIt analytics.
Before you start
Section titled “Before you start”Have the EyesOnIt plugin installed and connected to your EyesOnIt server, with the features and camera access needed for your task. Your administrator configures the plugin’s server connection and Media Gateway access. Use a Genetec account permitted to configure the camera.
1. Check the camera in Genetec
Section titled “1. Check the camera in Genetec”Enroll the camera through your normal Genetec video-unit workflow and verify its video. For an anonymous RTSP test source, the Add an entity → Show all → Video unit form offers Generic Stream and RTSP (No ping). Its address field follows a separate rtsp:// prefix. Choose the destination Location, then add the unit.
Use a clear camera name and an area such as Documentation examples → Campus. See camera organization.
2. Open EyesOnIt Configuration
Section titled “2. Open EyesOnIt Configuration”- Select the camera in Config Tool.
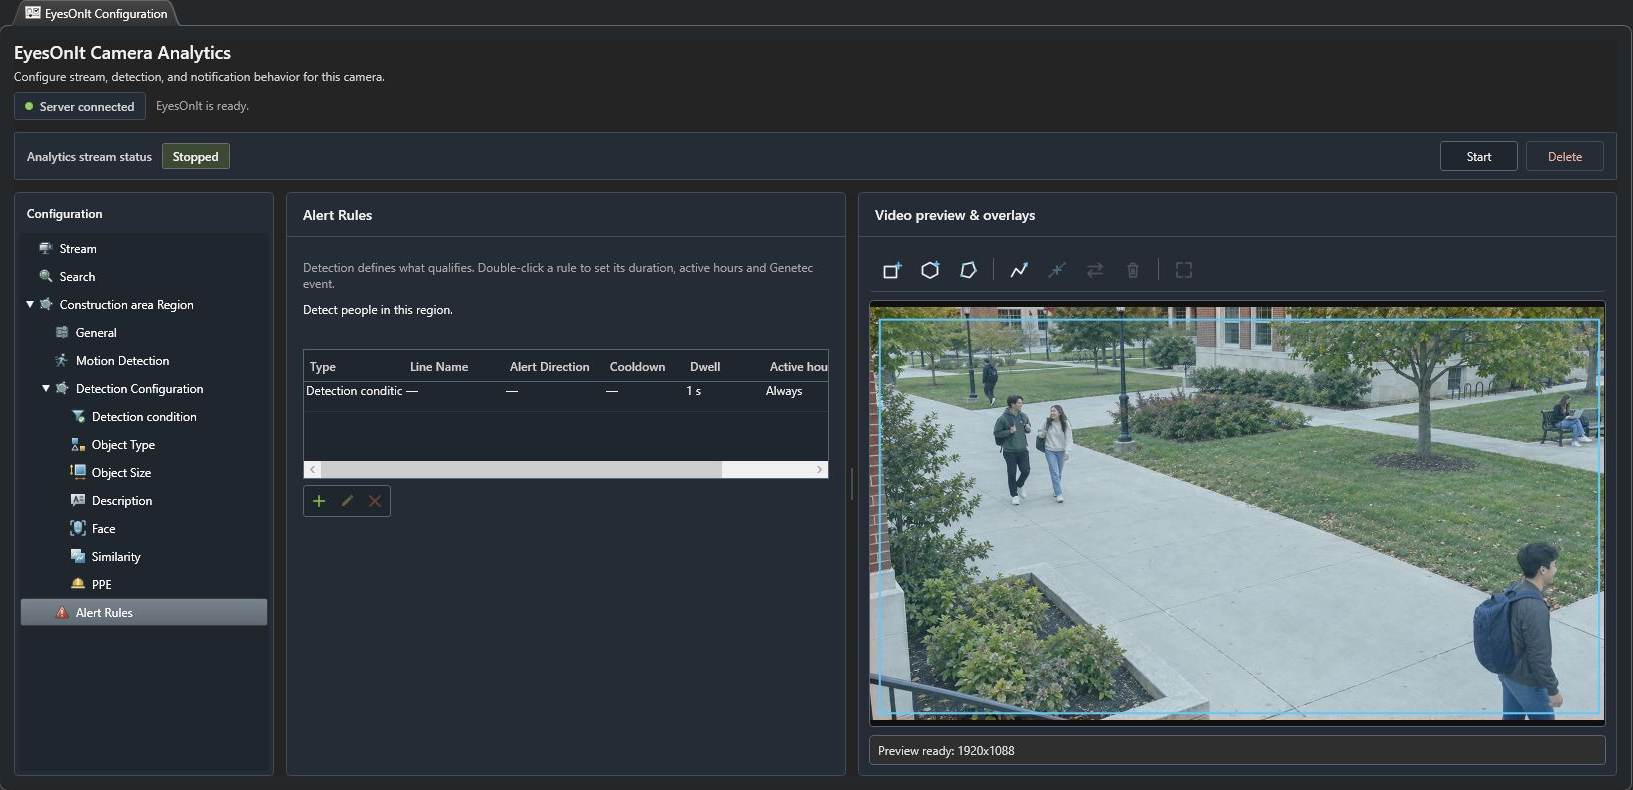
- Open Analytics → EyesOnIt Configuration.
- Check Server connected and the readiness message.
- Select Stream. Check Stream Name, Stream URL, and Frame Rate. The URL is generated from the configured Genetec Media Gateway route.
- Check that Video preview & overlays shows the expected camera view.
3. Apply and start analytics
Section titled “3. Apply and start analytics”Create a region, choose a detection condition and alert rule, and select the required search indexing.
Choose Config Tool’s Apply to save the complete camera configuration. When the save succeeds, choose Start and check Analytics stream status. Use Stop when you want to end EyesOnIt processing for that camera.
The Genetec video preview can remain available while analytics are stopped. For connection or preview problems, follow Find the problem.