
Complete initial setup
Sign in, check that EyesOnIt is ready, and build a working example with your first camera.
Watch the walkthrough
Section titled “Watch the walkthrough”Follow this captioned EyesOnIt web UI walkthrough, or use the written steps below.
1. Sign in as the administrator
Section titled “1. Sign in as the administrator”Open the EyesOnIt web UI at the Web dashboard URL supplied by the installer. If you chose an EyesOnIt-created certificate, trust its public CA certificate on this computer as described in Install EyesOnIt.
- Enter the Username and Password you chose during installation.
- Leave Authenticator code empty for this new account’s first sign-in. Once you enroll an authenticator, use its current code when signing in.
- Choose Sign in.
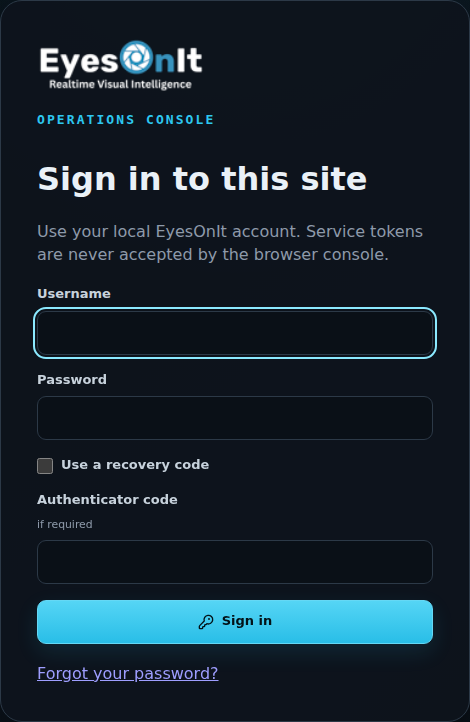
The installation’s license key and authorization token are separate from this browser account. Use your administrator username and password here.
2. Check readiness and licensed features
Section titled “2. Check readiness and licensed features”Open Overview and choose Refresh status. Check the Local API, Analytics, Compute node, and Archive Search indicators for the workflows you plan to use. On a new installation, connect a camera next to begin monitoring activity.
Open System and choose Refresh to review server resources and Licensed features.
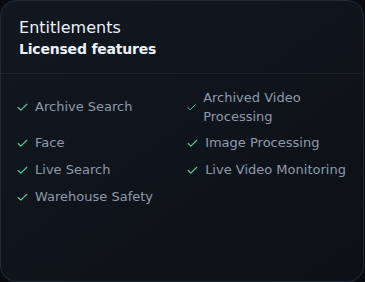
Use the resource cards to establish a starting point before adding cameras. Review them again as you increase processing.

If an indicator needs attention, read its status message and follow Monitor system health.
3. Prepare recording storage
Section titled “3. Prepare recording storage”Open Administration → Recording Storage. Review available disk space and recording retention. Choose retention periods that fit your investigation needs and available capacity.
You will choose recording behavior when configuring your cameras and incident evidence. Confirm the storage plan before enabling recording across a large set of cameras.
4. Build your first camera workflow
Section titled “4. Build your first camera workflow”Start with one camera and a condition you can test:
- Connect your first camera and verify its live view.
- Draw a region or line around the relevant area.
- Configure a condition and incident rule. For a complete example, try PPE detection and incidents.
- Choose evidence and notifications, then trigger the condition and review the incident.
For a repeatable example using an existing clip, process a recorded video file.
5. Give your team access
Section titled “5. Give your team access”Set up an authenticator for your administrator account through Account security, following Protect your account. Save the recovery codes in a secure place when enrollment completes.
Create individual user accounts and camera access for your team. Choose roles and cameras that match each person’s work, then have them sign in and complete their own account setup.