
Test a detection in Image Lab
Try a detection on a clear video frame before putting it into service. Image Lab uses familiar region and detection controls and explains which objects pass your settings.
Watch the walkthrough
Section titled “Watch the walkthrough”Load a frame
Section titled “Load a frame”Open Image Lab. Choose Choose JPEG or PNG, or drop a frame into the page. Use an image from the camera and conditions you plan to monitor. You can also choose a retained frame from Archive.
Configure the scene
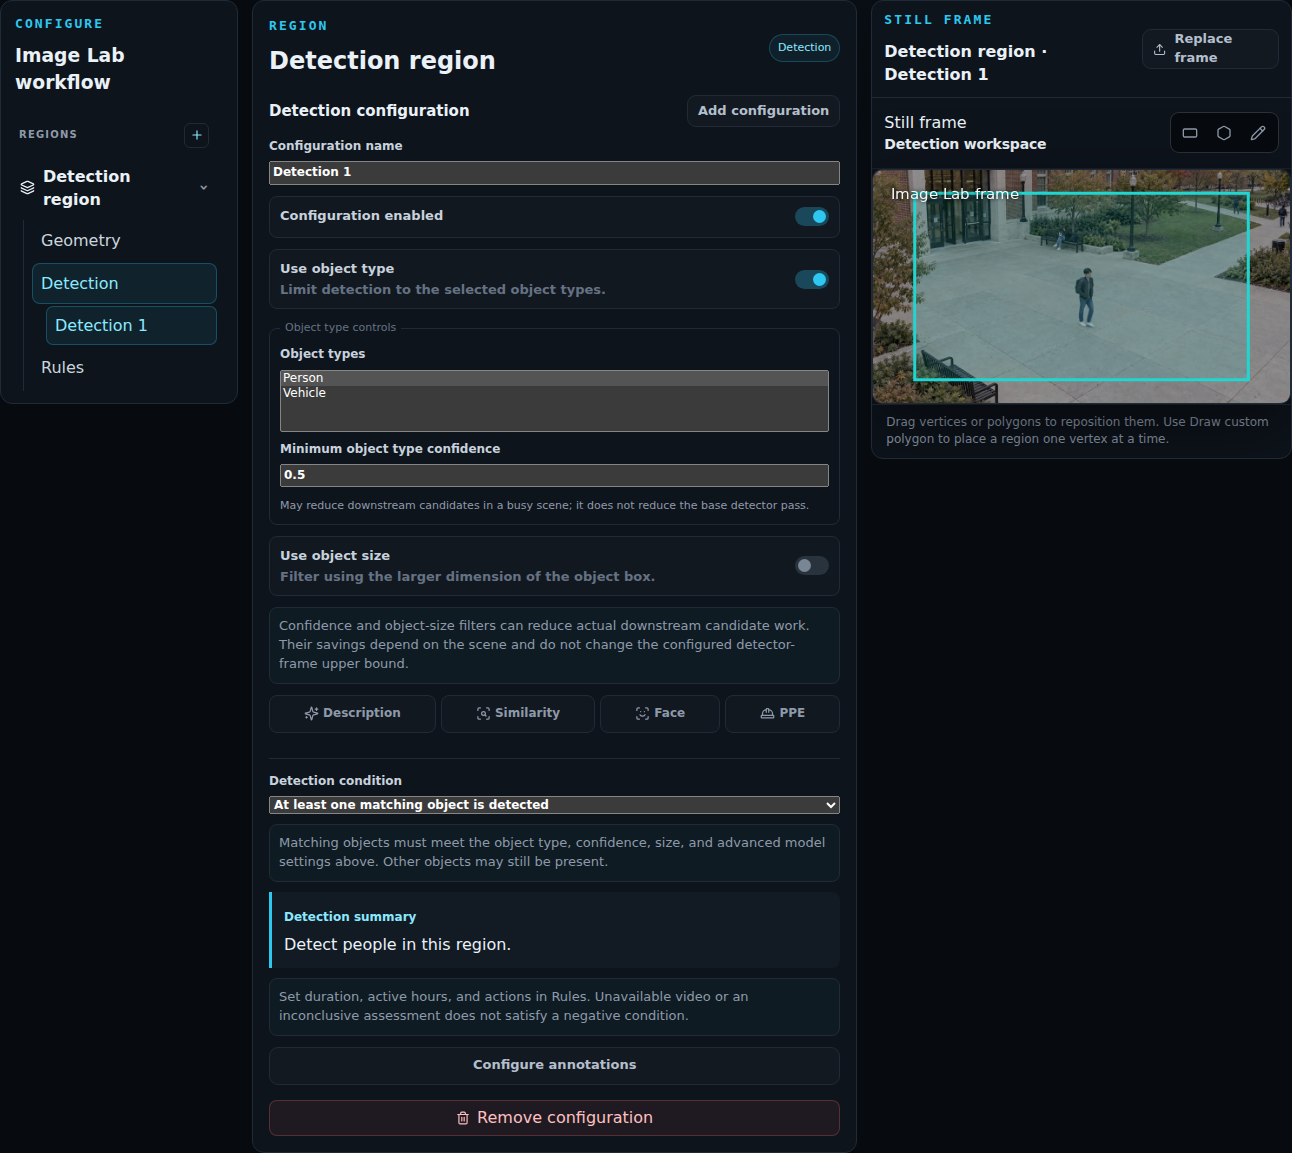
Section titled “Configure the scene”- Position the Detection region over the area of interest.
- Open Detection and select a configuration.
- Choose the object type, confidence, and size settings. Add a natural-language description when you need to distinguish a particular person or activity.
- Choose Analyze frame.
Review the matches
Section titled “Review the matches”Inspect the annotated frame and Frame evaluation. Each configuration explains which objects passed the region, object type, confidence, size, and description filters. Change a setting and choose Analyze frame again to compare.

Use several frames to check near and far objects, lighting, and occlusion. Validate dwell, reset, motion, and closing behavior with live or recorded video.
Use the tested scene
Section titled “Use the tested scene”Choose Convert to camera configuration. For an uploaded frame, enter the new camera details. The camera is created paused so you can review its settings before starting it.
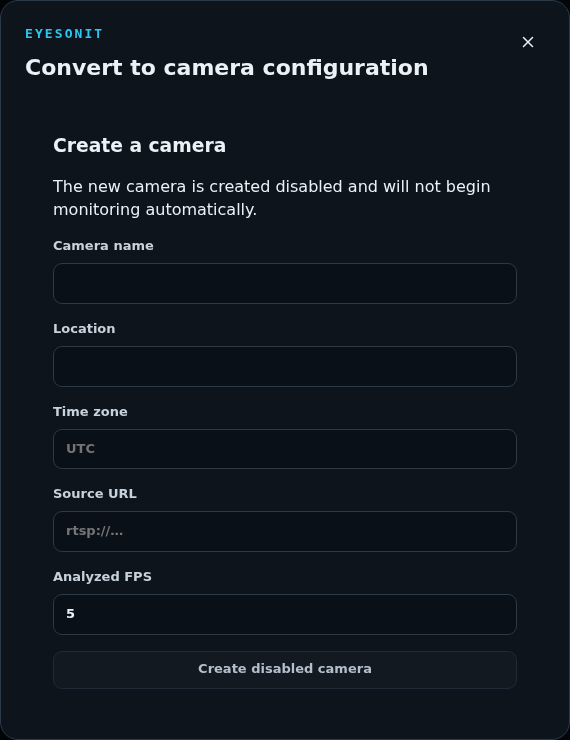
When the frame came from a source camera and you have configuration access, Review source-camera changes opens that camera with the lab scene staged for review. Check the geometry, timing, and actions, then save the configuration and test the complete event in video.