
Play back related video in Genetec
Move from a candidate image to the camera recording that explains what happened around it.
Before you start
Section titled “Before you start”Confirm the Genetec camera records the period you want to review and that your account can play its archives. Configure recording through the camera’s Genetec recording settings and your Archiver policy.
EyesOnIt search indexing supplies appearances and thumbnails. It does not establish that Genetec recorded the corresponding video. The result also needs an association with the correct Genetec camera.
Open video from a result
Section titled “Open video from a result”- Run an EyesOnIt Investigation search.
- Inspect a candidate’s image, camera, and timestamp.
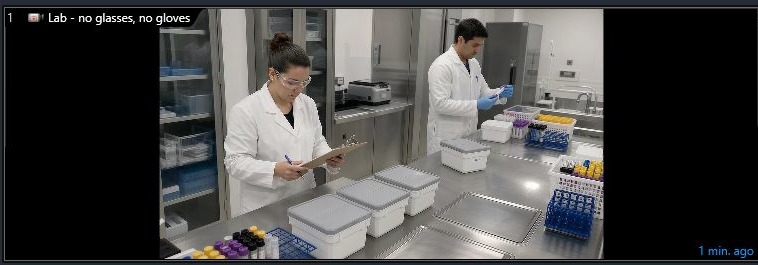
- Double-click the result to assign its camera and result time to a video tile below the results.
- Use the Security Desk player’s available controls to review the activity before and after that time.
- Open another result to compare the appearances in the task’s two video tiles.
If the tile does not open or play
Section titled “If the tile does not open or play”Check the camera association first. A backend-only video source can return a thumbnail without being associated with a Genetec camera. Enroll the native camera and save its EyesOnIt configuration through Config Tool, then collect and search its indexed history.
If the camera opens but the time has no footage, check the recording schedule, retained intervals, camera time, and playback permissions. Try the same camera and time through your normal Security Desk recording workflow to separate recording availability from search-result routing.
For recordings stored by EyesOnIt itself, follow the separately labeled web UI playback guide. Use your established Genetec procedure for exporting or protecting Genetec recordings.