
Install EyesOnIt with Docker
Use the guided Docker installer to deploy EyesOnIt with managed services, HTTPS, and a digest-pinned application image. The installer prepares the Docker runtime and checks the deployment before completing setup.
Watch the walkthrough
Section titled “Watch the walkthrough”Prepare the server
Section titled “Prepare the server”This walkthrough uses Ubuntu 24.04, x86-64, an NVIDIA GPU with its supported driver, and administrator access. Prepare the server’s DNS, firewall, storage, license key, and authorization token. See Prepare your server for the initial checklist.
The installer can prepare Docker Engine, Compose, and NVIDIA Container Toolkit. Keep the display driver and firewall under your site’s normal administration. Have your HTTPS hostname or address and your chosen certificate approach ready.
Download and verify
Section titled “Download and verify”Run these commands in a download directory on the server:
curl -fLO https://d1gidsni9pityo.cloudfront.net/eyesonit/install/eoi-docker-linux-x86_64 && \ curl -fLO https://d1gidsni9pityo.cloudfront.net/eyesonit/install/eoi-docker-linux-x86_64.sha256 && \ sha256sum --check eoi-docker-linux-x86_64.sha256 && \ chmod +x eoi-docker-linux-x86_64 && \ sudo ./eoi-docker-linux-x86_64The checksum check should report eoi-docker-linux-x86_64: OK. The installer also verifies signed release information and selects the exact application image digest.
Complete guided setup
Section titled “Complete guided setup”Follow the terminal prompts for the site address, HTTPS, license, authorization token, and initial administrator account. Password and credential entry stays hidden. Review the installation summary, then allow setup to prepare the runtime, image, models, and services.
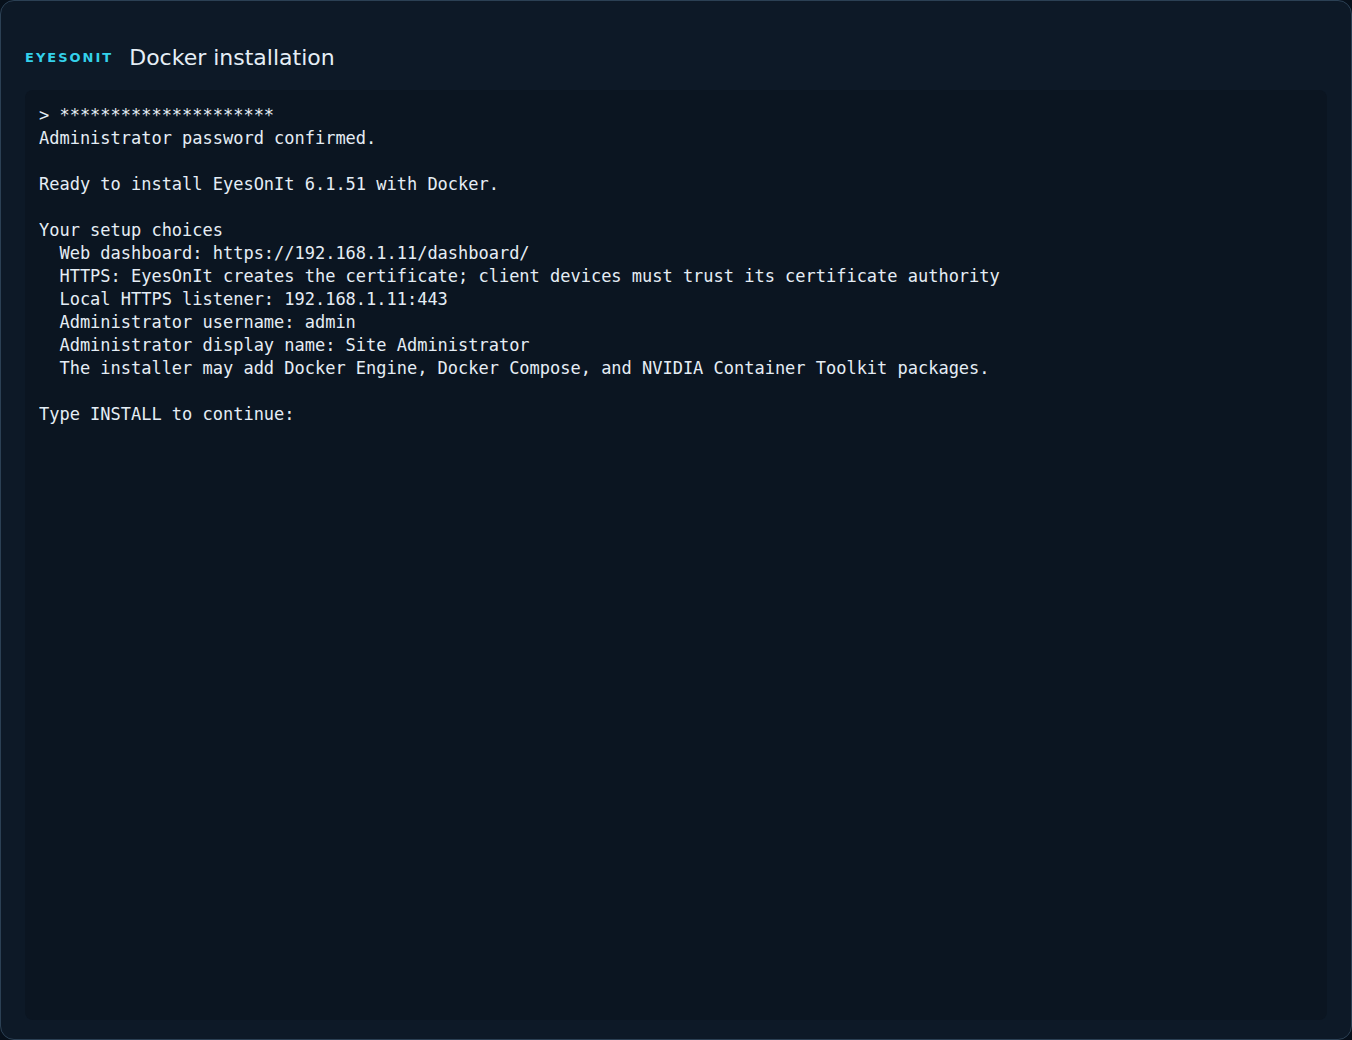
The first start prepares the GPU models for your server. Keep the installer open until setup reports readiness. Use the managed command to check the result:
sudo eoi status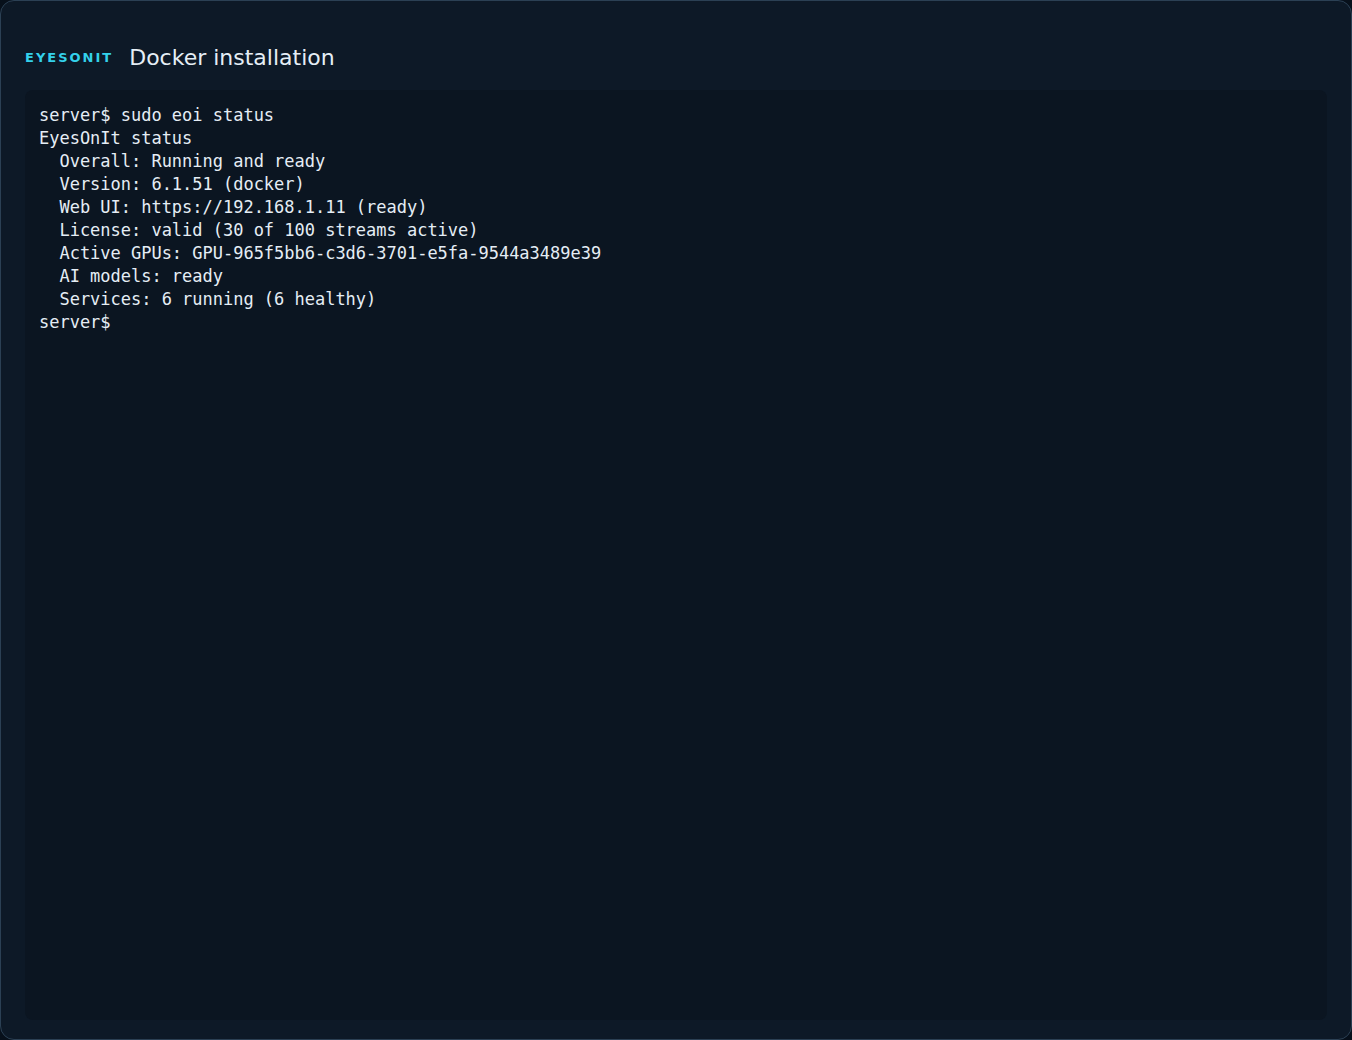
Open the web UI
Section titled “Open the web UI”Open the HTTPS address reported by setup. Trust the installation’s public CA on your browser computers when using its private certificate authority, then sign in with the administrator account you created.
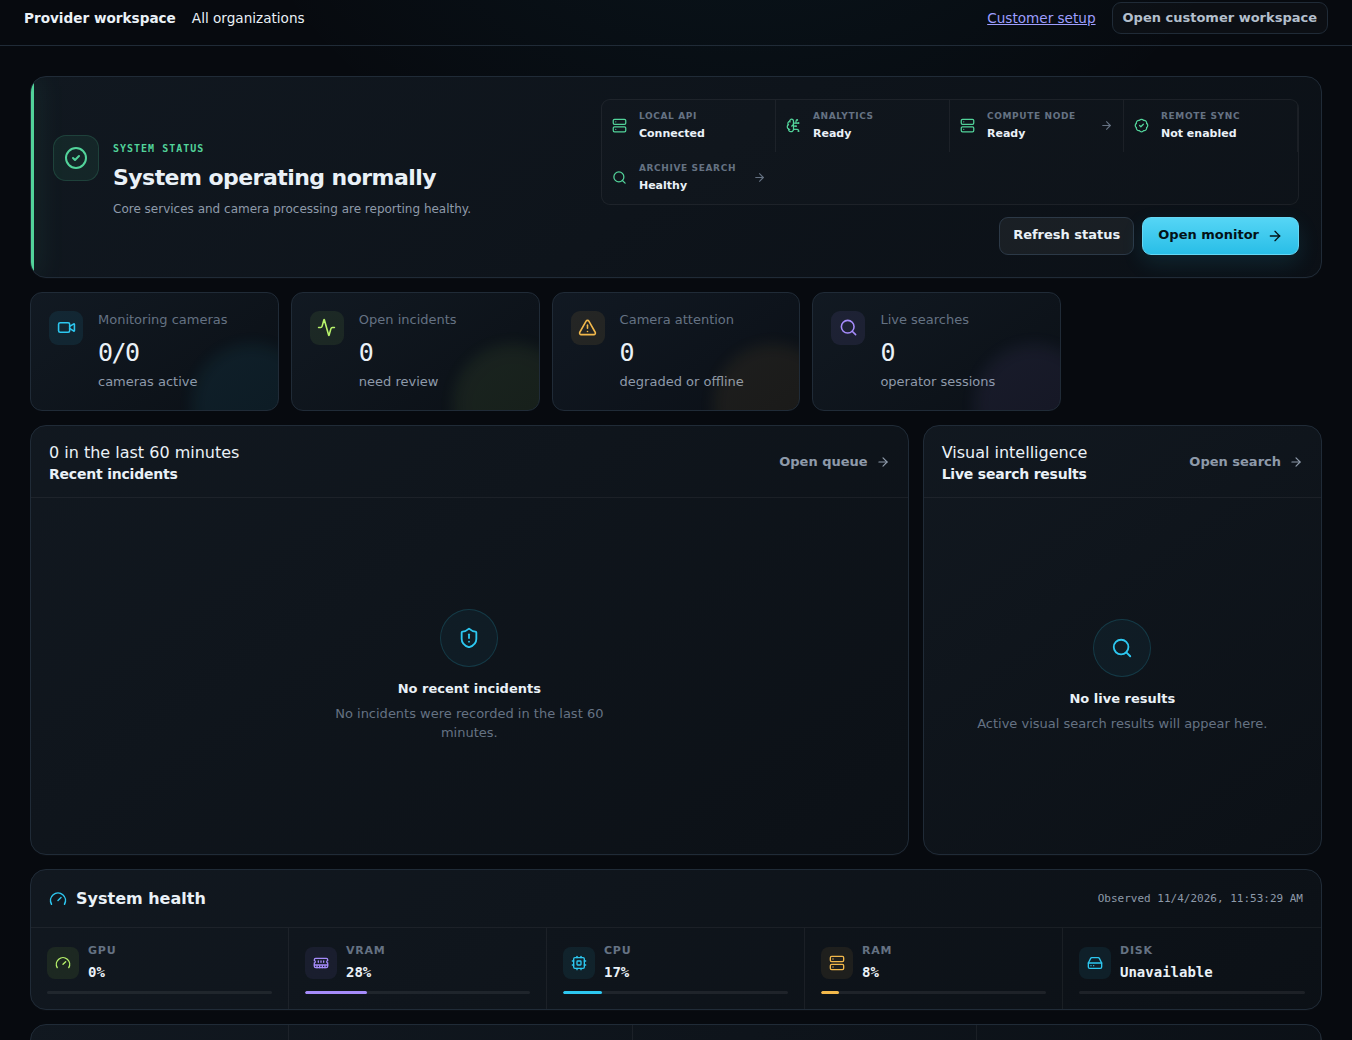
Complete Initial setup and connect your first camera.
Manage the installation
Section titled “Manage the installation”Use eoi start, eoi stop, and eoi restart for routine service management. These commands manage the deployment’s application services and its managed HTTPS endpoint together.
Use Upgrades and rollback for application updates and Backup and recovery for the server’s recovery plan.