
Import identity photos in Genetec
Prepare and review a group of people before enrolling their photos.
1. Prepare the source
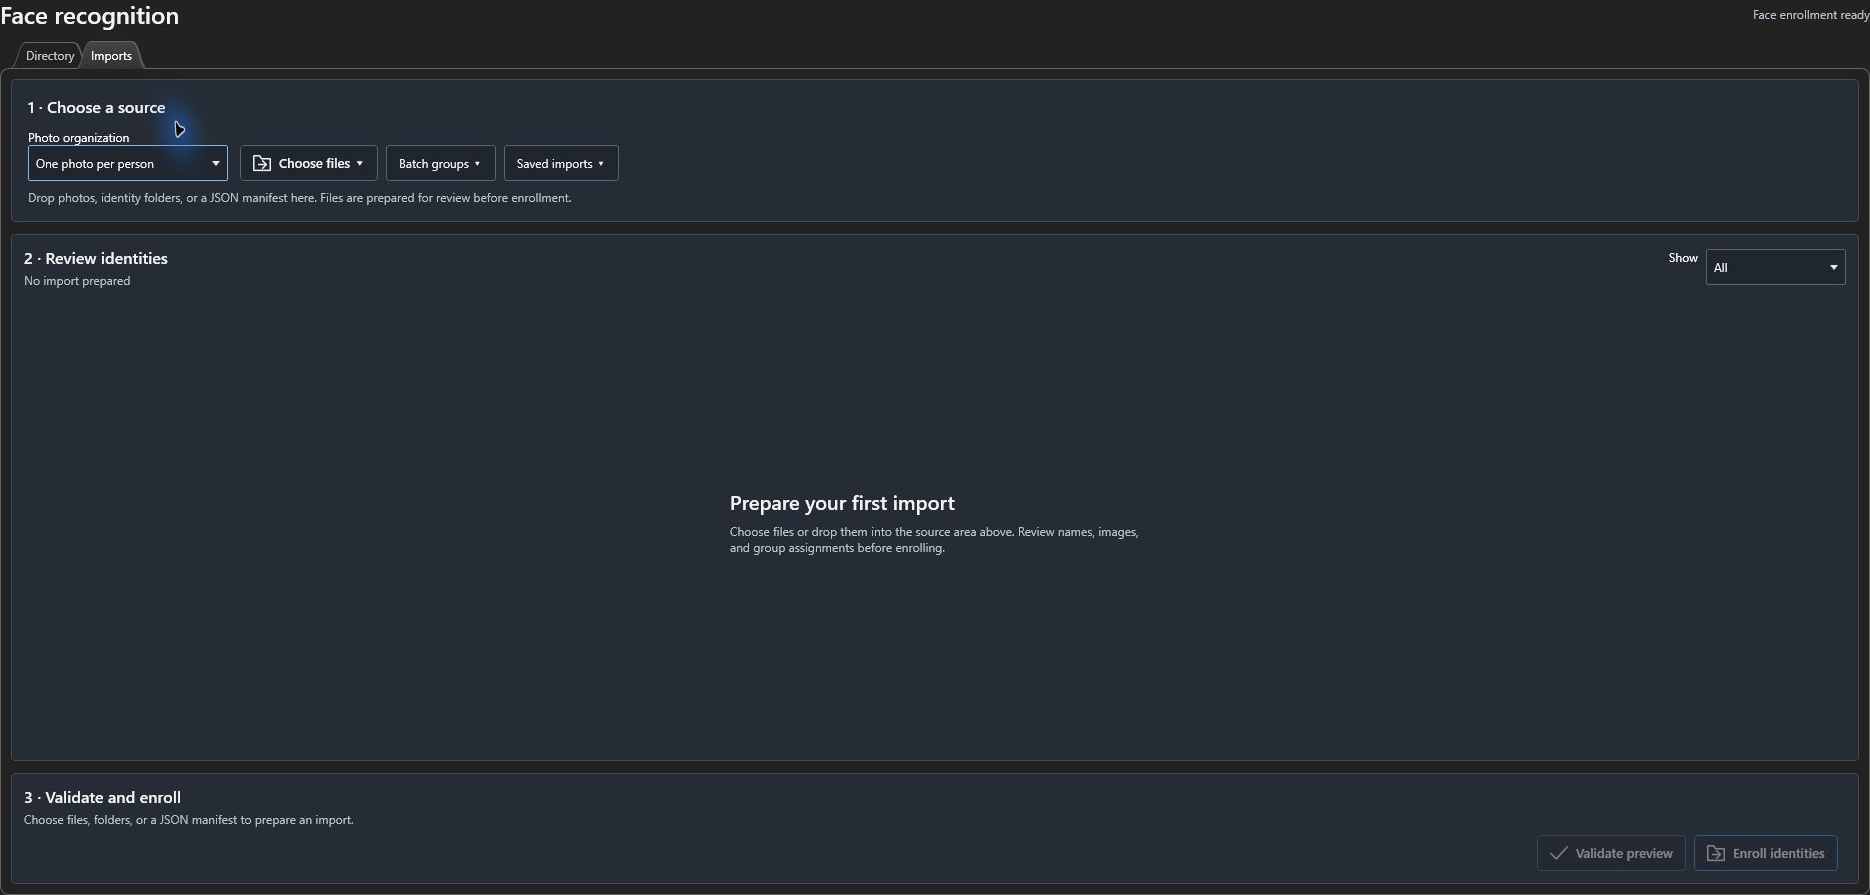
Section titled “1. Prepare the source”Open EyesOnIt Face Recognition → Imports. Under Photo organization, select One photo per person or Folder per person. Use Choose files to select photos or a supported JSON manifest, or choose a folder from that menu. The source area also accepts dropped photos, identity folders, and JSON manifests.
2. Review the identities
Section titled “2. Review the identities”Check each row’s Display name, External ID, images, groups, and status. For an existing identity, explicitly choose Skip existing or Update / add photos. Use Show to focus on ready rows, existing identities, or errors.
Use Batch groups → Apply groups to assign groups to the prepared batch. This replaces the preview’s group assignments; check the resulting rows before enrollment.
3. Validate and enroll
Section titled “3. Validate and enroll”Choose Validate preview and resolve errors. When the names, IDs, photos, and assignments are correct, choose Enroll identities. Review the resulting statuses and confirm a representative identity in Directory.
Pause stops ongoing batch processing. Saved imports lets you load an earlier import for review, and Import actions → Resume / retry failed explicitly resumes work. Review the saved progress before retrying. Export results… exports the batch outcome.
The shared web UI’s identity transfer and access guide covers its separate transfer controls. Use those instructions when you need that server workflow rather than the native photo-import task.