
EyesOnIt for Genetec
Configure what matters in Config Tool. Use Security Desk to investigate recorded appearances and watch for new matches.
Find your way around
Section titled “Find your way around”| Task | Where to work |
|---|---|
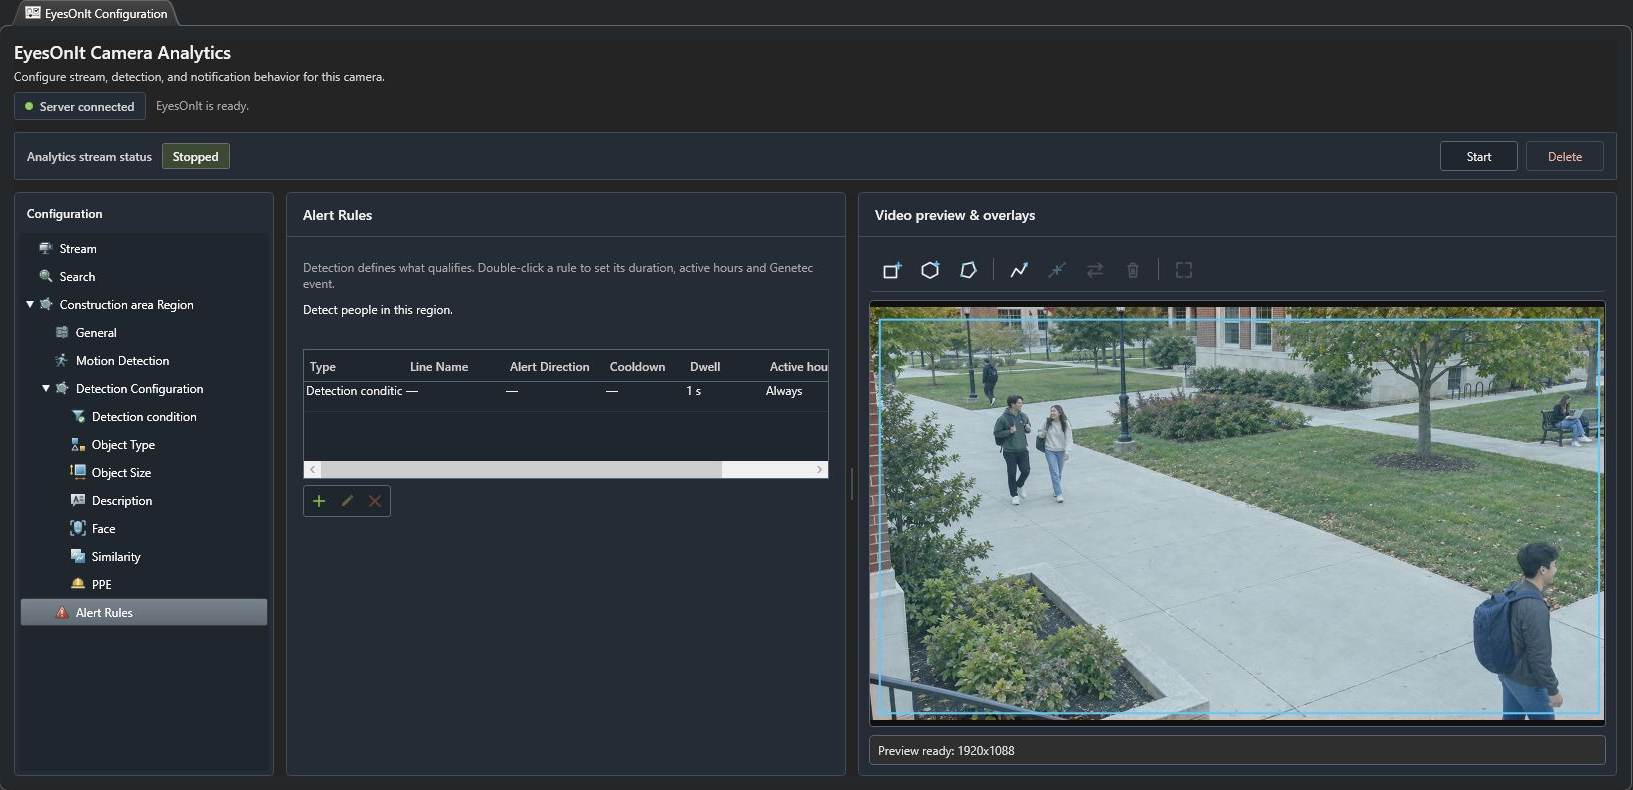
| Connect a camera and configure analytics | Config Tool: select the camera, then Analytics → EyesOnIt Configuration. |
| Enroll people and organize face samples | Config Tool: EyesOnIt Face Recognition task. |
| Search indexed video | Security Desk: EyesOnIt Investigation task. |
| Run a temporary watch | Security Desk: EyesOnIt Monitoring task. |
| Review camera recordings | The Security Desk video tiles opened from a mapped search result. |
The plugin connects to an EyesOnIt server. Camera video, analysis, searchable history, and recorded footage each have their own readiness checks. A visible Genetec preview confirms video is available to the client; check Analytics stream status to confirm EyesOnIt processing.
Build your first workflow
Section titled “Build your first workflow”- Connect a camera and check its preview.
- Draw a region or crossing line.
- Choose object filters, a description, a reference image, PPE, or an enrolled identity.
- Set the alert rule and its timing.
- Enable the search history you need, apply the camera configuration, and start analytics.
- Investigate matches and open related video.
For a temporary watch across cameras, use live monitoring.
Follow the same examples
Section titled “Follow the same examples”The guides use the campus yellow-top detection example, blue-backpack searches, Campus demo — Alex, Documentation — Campus staff, a loading-bay crossing, and the lab missing-gloves condition used in the web UI documentation. The written examples distinguish suggested settings from illustrated results. Screenshots are actual Genetec client captures.
Shared server tasks
Section titled “Shared server tasks”Use the existing server guides for installation, workspaces, recording storage, system health, and backup and recovery. Those guides identify the EyesOnIt web UI controls they use.
The web UI also provides incident ownership and resolution, Image Lab, starter templates, co-presence, and close approach. Config Tool identifies additional server-managed settings and preserves them when you apply supported camera edits. Follow the relevant web UI guide to edit those settings.
For an MP4 test source, follow recorded-file processing in the web UI. To exercise the native Genetec camera workflow with that footage, provide it as an RTSP stream and enroll it as a Genetec video unit.