Recognize enrolled people in Genetec
Use an enrolled person or group to qualify a camera detection and find appearances in video.
1. Prepare the identity
Section titled “1. Prepare the identity”Follow Enroll people and Identity groups. The campus example uses Campus demo — Alex in Documentation — Campus staff. Check the actual samples and memberships before using the group in a rule.
2. Configure the camera
Section titled “2. Configure the camera”- Open Analytics → EyesOnIt Configuration for the campus walkway camera.
- Select the region and check its object filters.
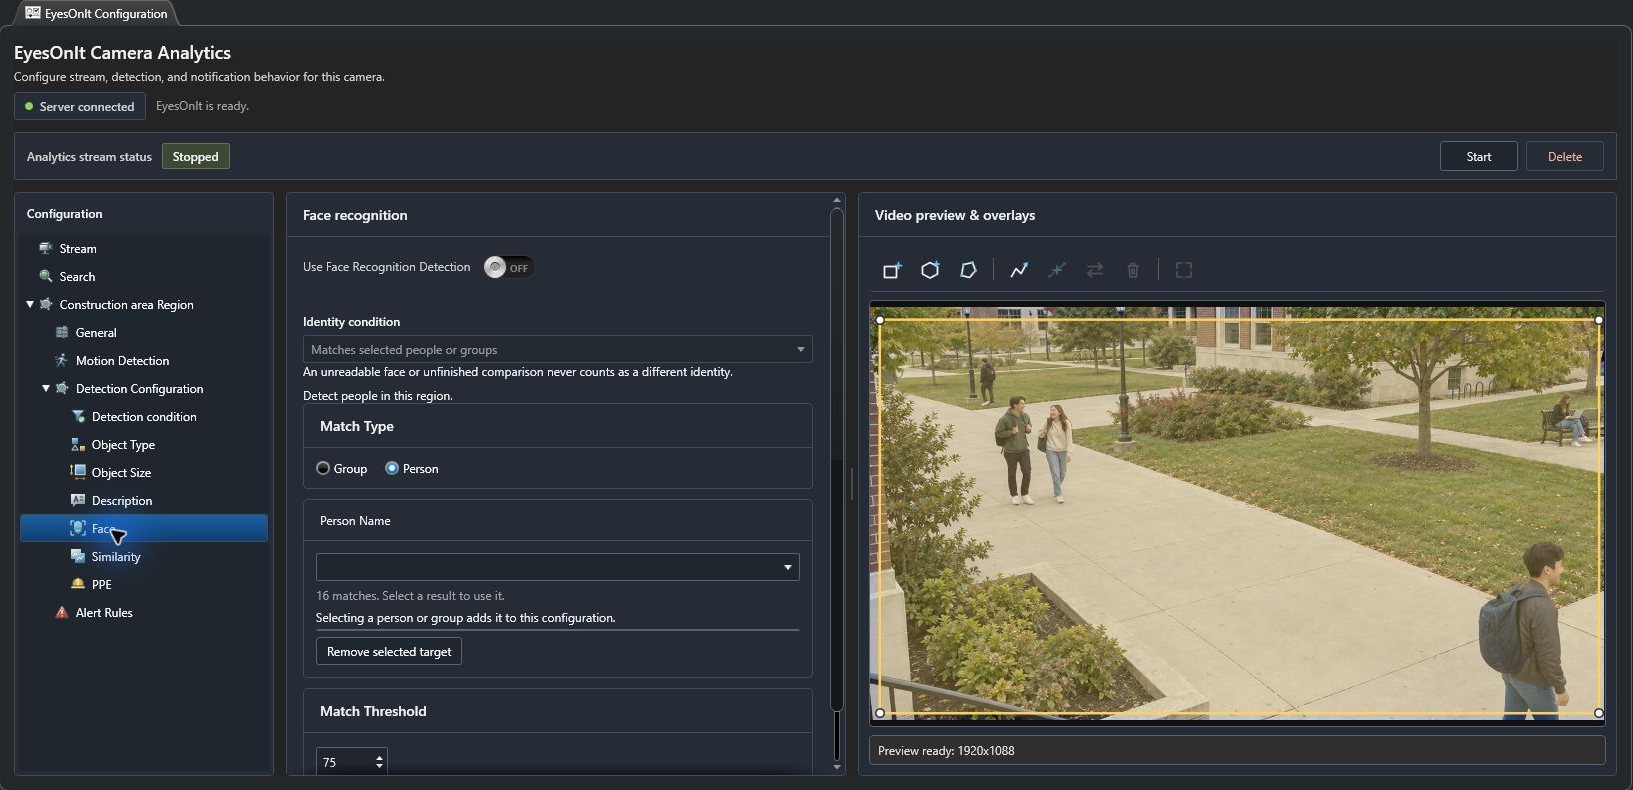
- Open Detection Configuration → Face and enable Use Face Recognition Detection.
- Under Match Type, choose Person or Group. Type the target’s name and select the intended result. Selection adds it to the configuration.
- Set Match Threshold. The campus example starts at 75.
- Choose Matches selected people or groups in Identity condition.
- Open Detection condition, choose At least one matching object is detected, and check the summary.
In the walkthrough, add a fresh alert rule and keep its defaults: 1 second dwell, 5 seconds reset, Warning severity, Always active hours, and event generation off. Save the rule and apply the camera configuration. Then test clear face views on your camera before relying on the condition.
Recognized outside selected people or groups requires a completed recognition assessment. Include clear unidentified faces is a separate choice. An unreadable face or unfinished comparison never establishes a different identity.
3. Search for appearances
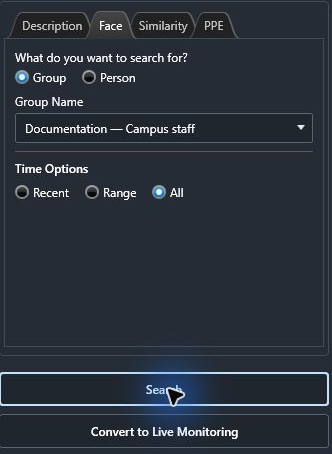
Section titled “3. Search for appearances”For retained face history, enable Search → Search Indexing → Face before collecting the period to investigate. In Security Desk, open EyesOnIt Investigation → Face, select Person or Group, choose the target, cameras, and time period, then Search.
For a temporary watch, use the Face tab of EyesOnIt Monitoring. Review returned images and surrounding video before drawing conclusions about the person.